1. Registering for Netlify
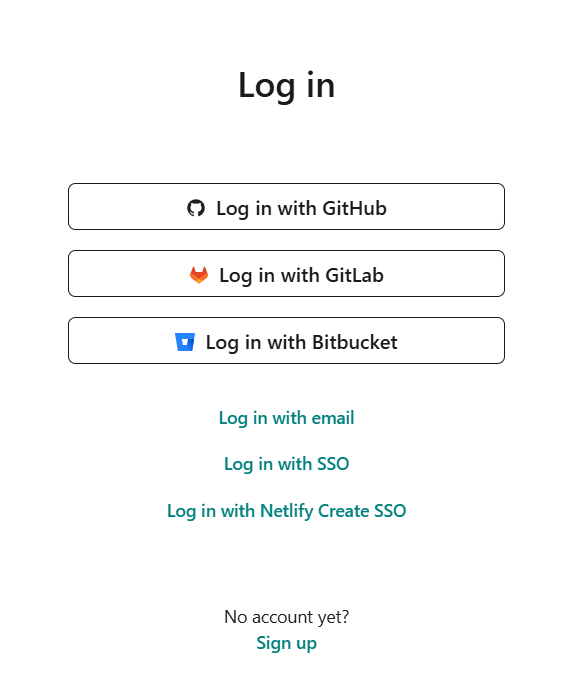
First, open Netlify’s official website Click here to visit
Choose a method to register and log in. Here I’ll choose GitHub login, which is the first option.
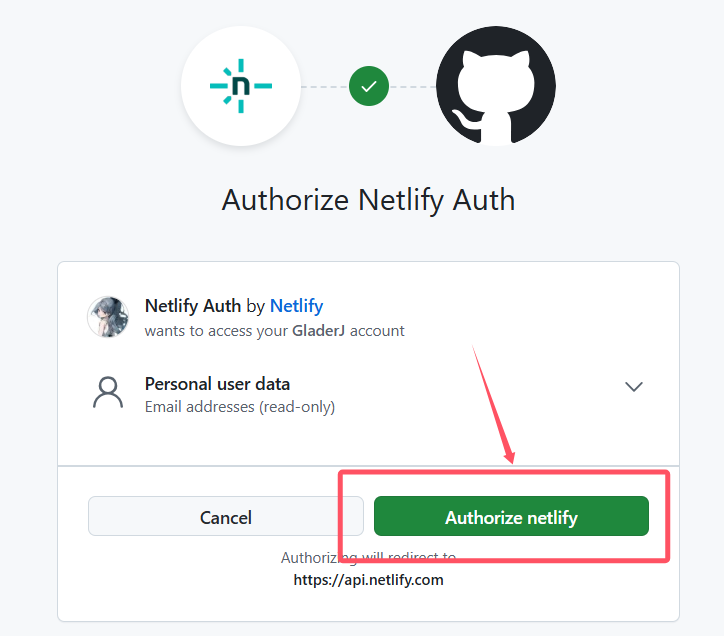
Then we authorize the GitHub login.
Afterward, you’ll see pages asking for information including name, plan, role, etc. Fill them out roughly and check the tags.

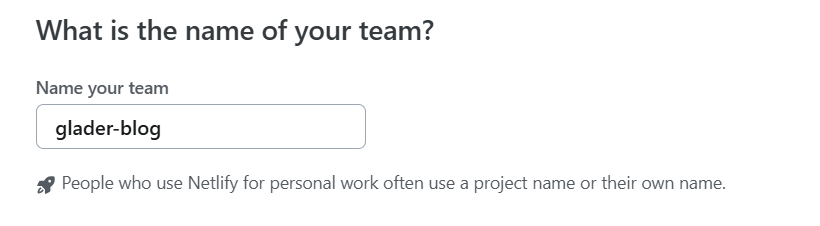
If you selected the Personal option in How are you planning to use Netlify?, you’ll be asked to create a project name at the end, which will be used as an identifier in the URL. You can customize this according to your preferences.
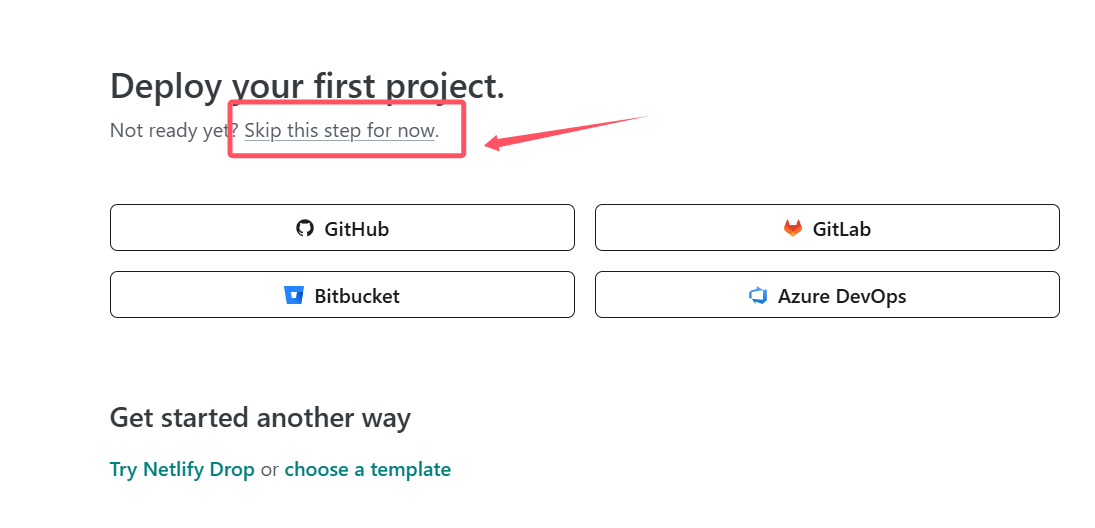
After completion, click Continue to deploy. A prompt will appear asking you to set up your first project. Click Skip this step for now.
After completing the above steps, you’ve successfully registered for Netlify.
2. Installing Astro
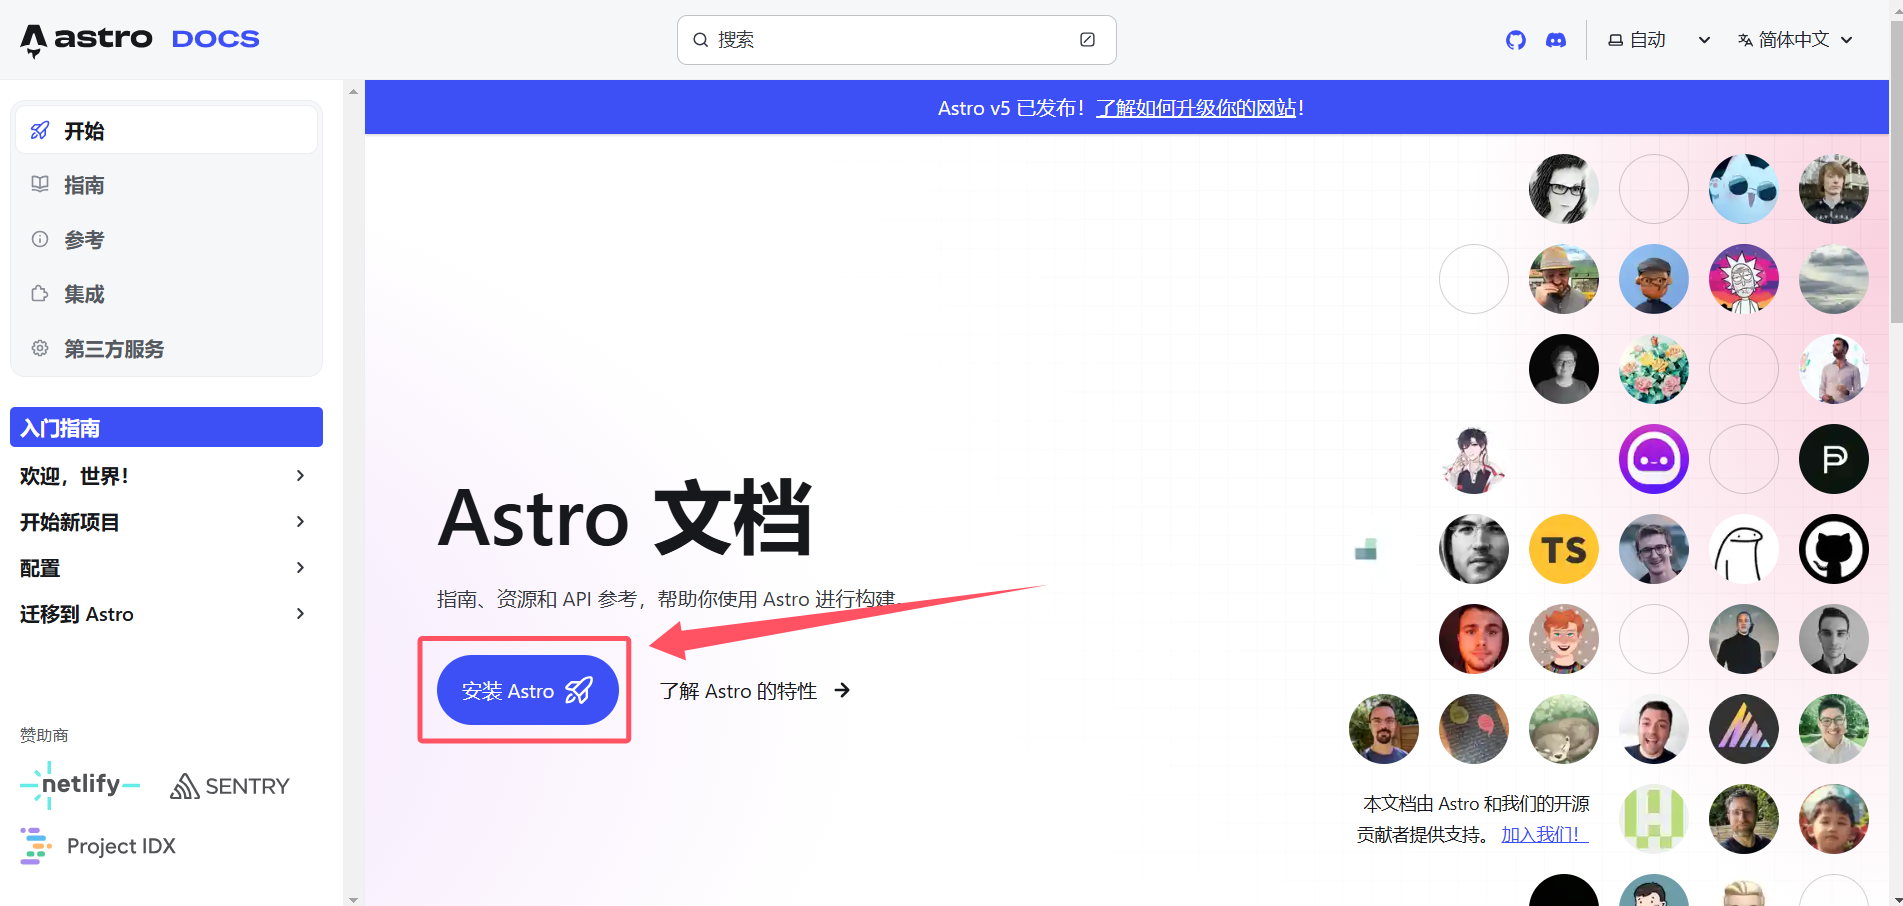
First, visit Astro’s official documentation website Click here to visit
Then click on “Install Astro”
On the new page, three prerequisites are shown:
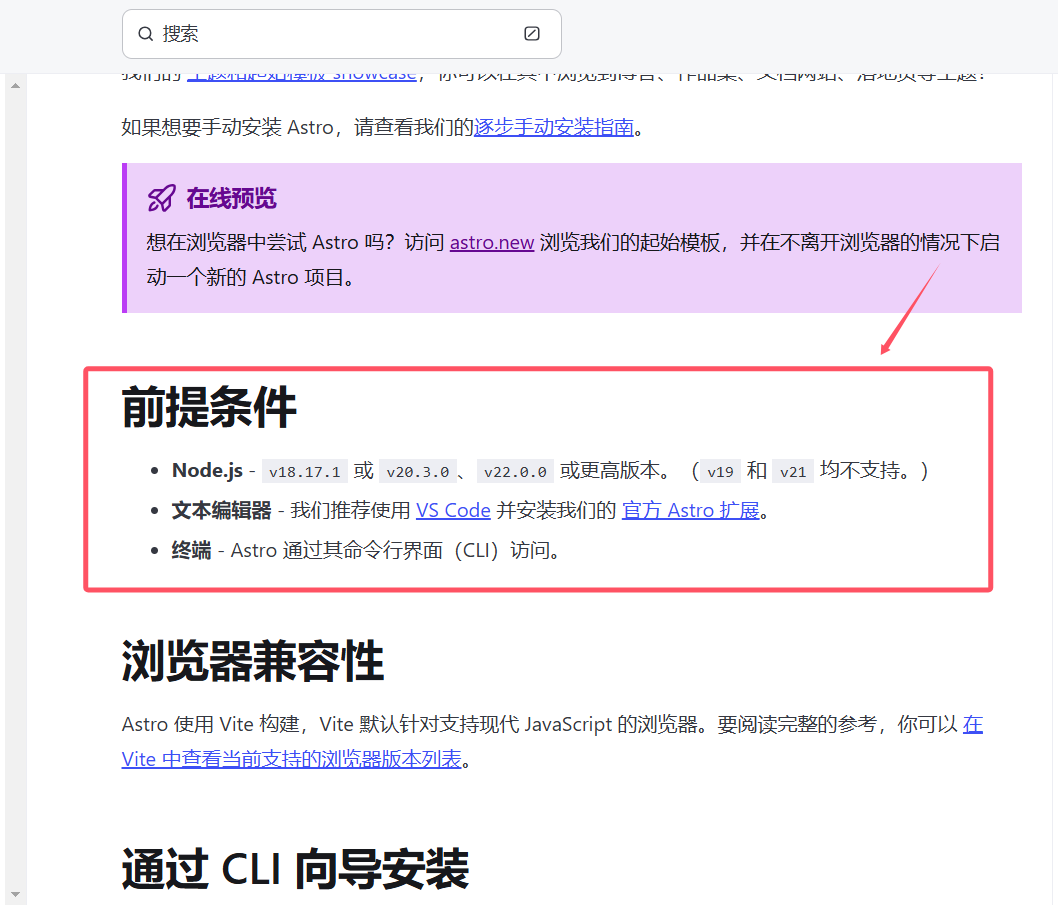
According to the documentation prerequisites, we need a Node.js environment, a text editor, and a terminal.
For Node.js environment installation and configuration, you can refer to the following tutorial:
Node.js Installation Tutorial, click to visit
You can use the system’s built-in tools for the latter two. For a more comfortable coding environment, we can download and use VSCode as our text editor. Installation instructions can be found in the following tutorial:
VSCode Installation Tutorial, click to visit
After completing the above prerequisites, we can officially begin installing Astro.
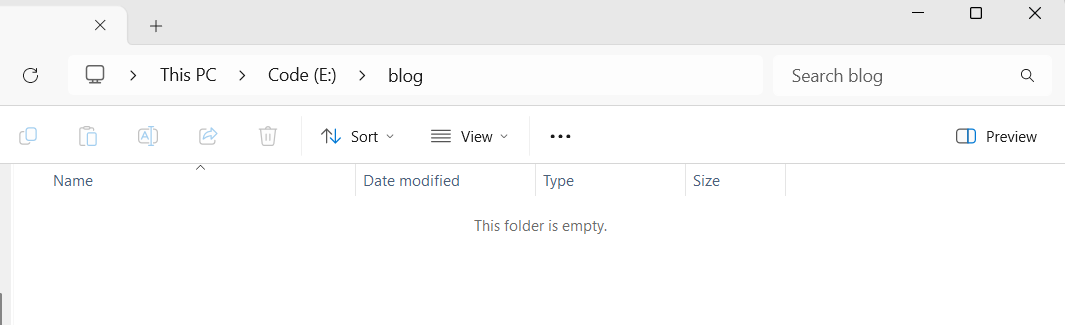
First, create a new blank folder.
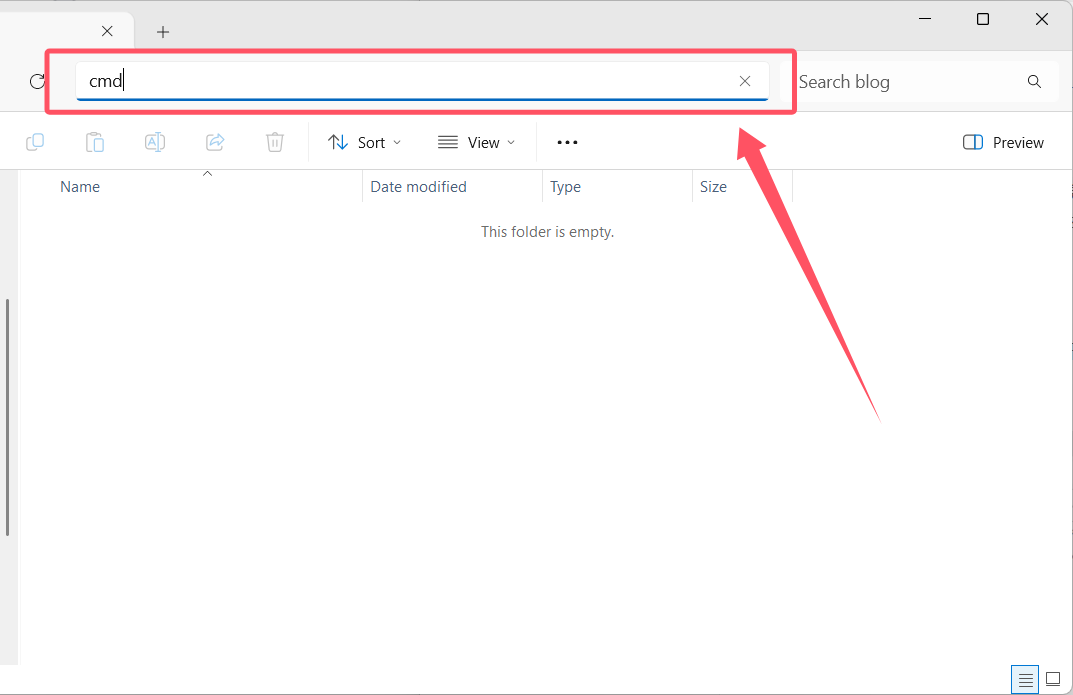
Then type cmd in the address bar and press Enter.
In the terminal that appears, enter the following command and type y when prompted:
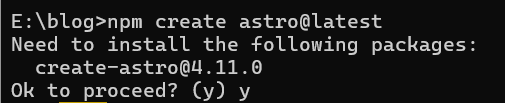
npm create astro@latest
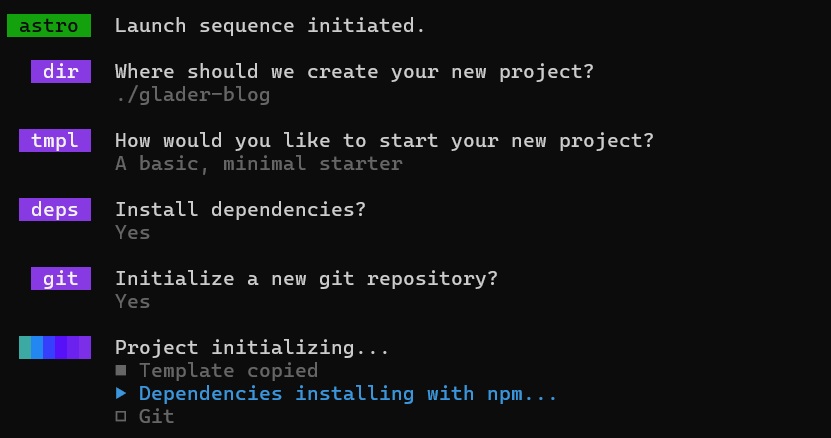
After waiting a while, you’ll be prompted to choose a directory for the new project. You can enter ./glader-blog, which will create a new folder called glader-blog in the current directory to store the project.

Next, press Enter 3 times to wait for project initialization.
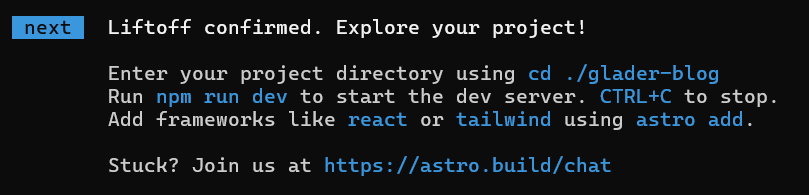
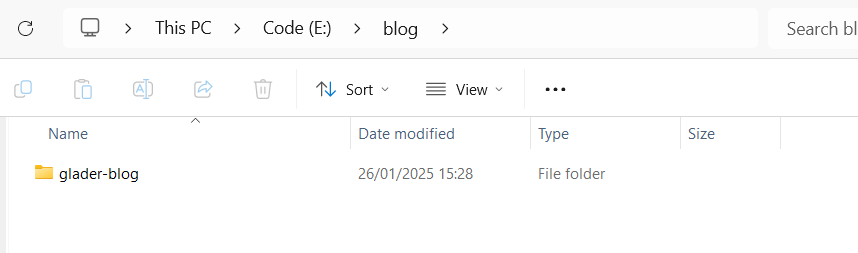
When you see the following message, the project initialization is complete. You’ll now see a glader-blog directory in your folder containing the project:
Then enter the created project and use npm install to install dependencies, as follows:

Astro has a built-in server. After the installation is complete, run the command npm run dev to start the server.
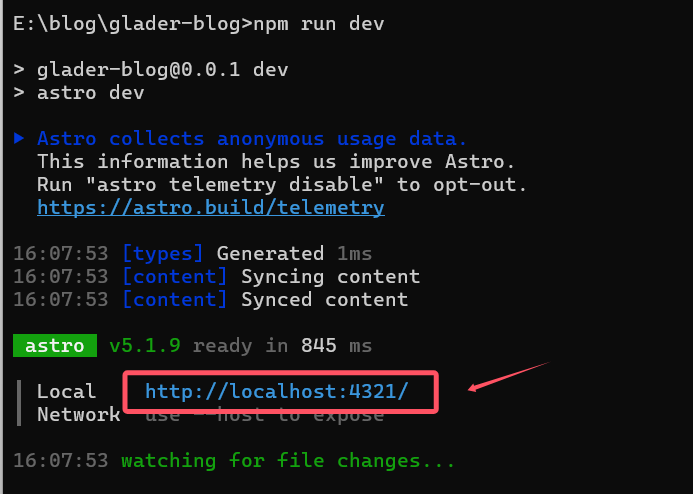
Enter http://localhost:4321 in your browser to access the preview.
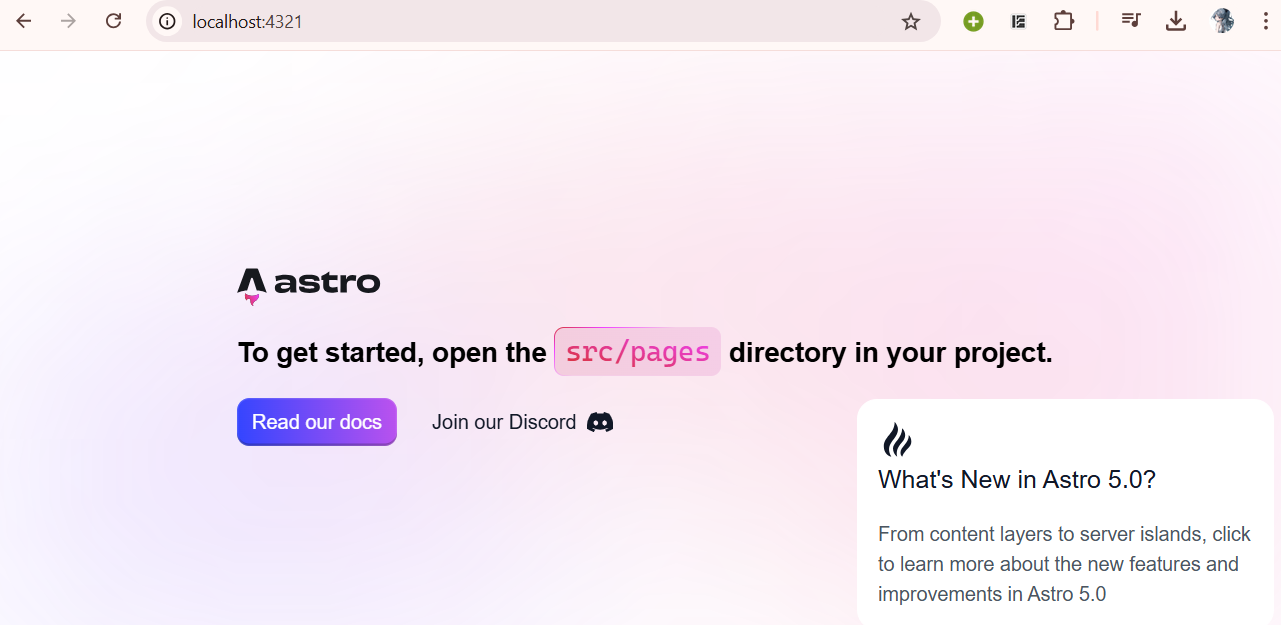
After entering this URL in the browser, the result is as follows, indicating that the Astro project has been successfully installed.
3. Getting Familiar with the Astro Development Environment
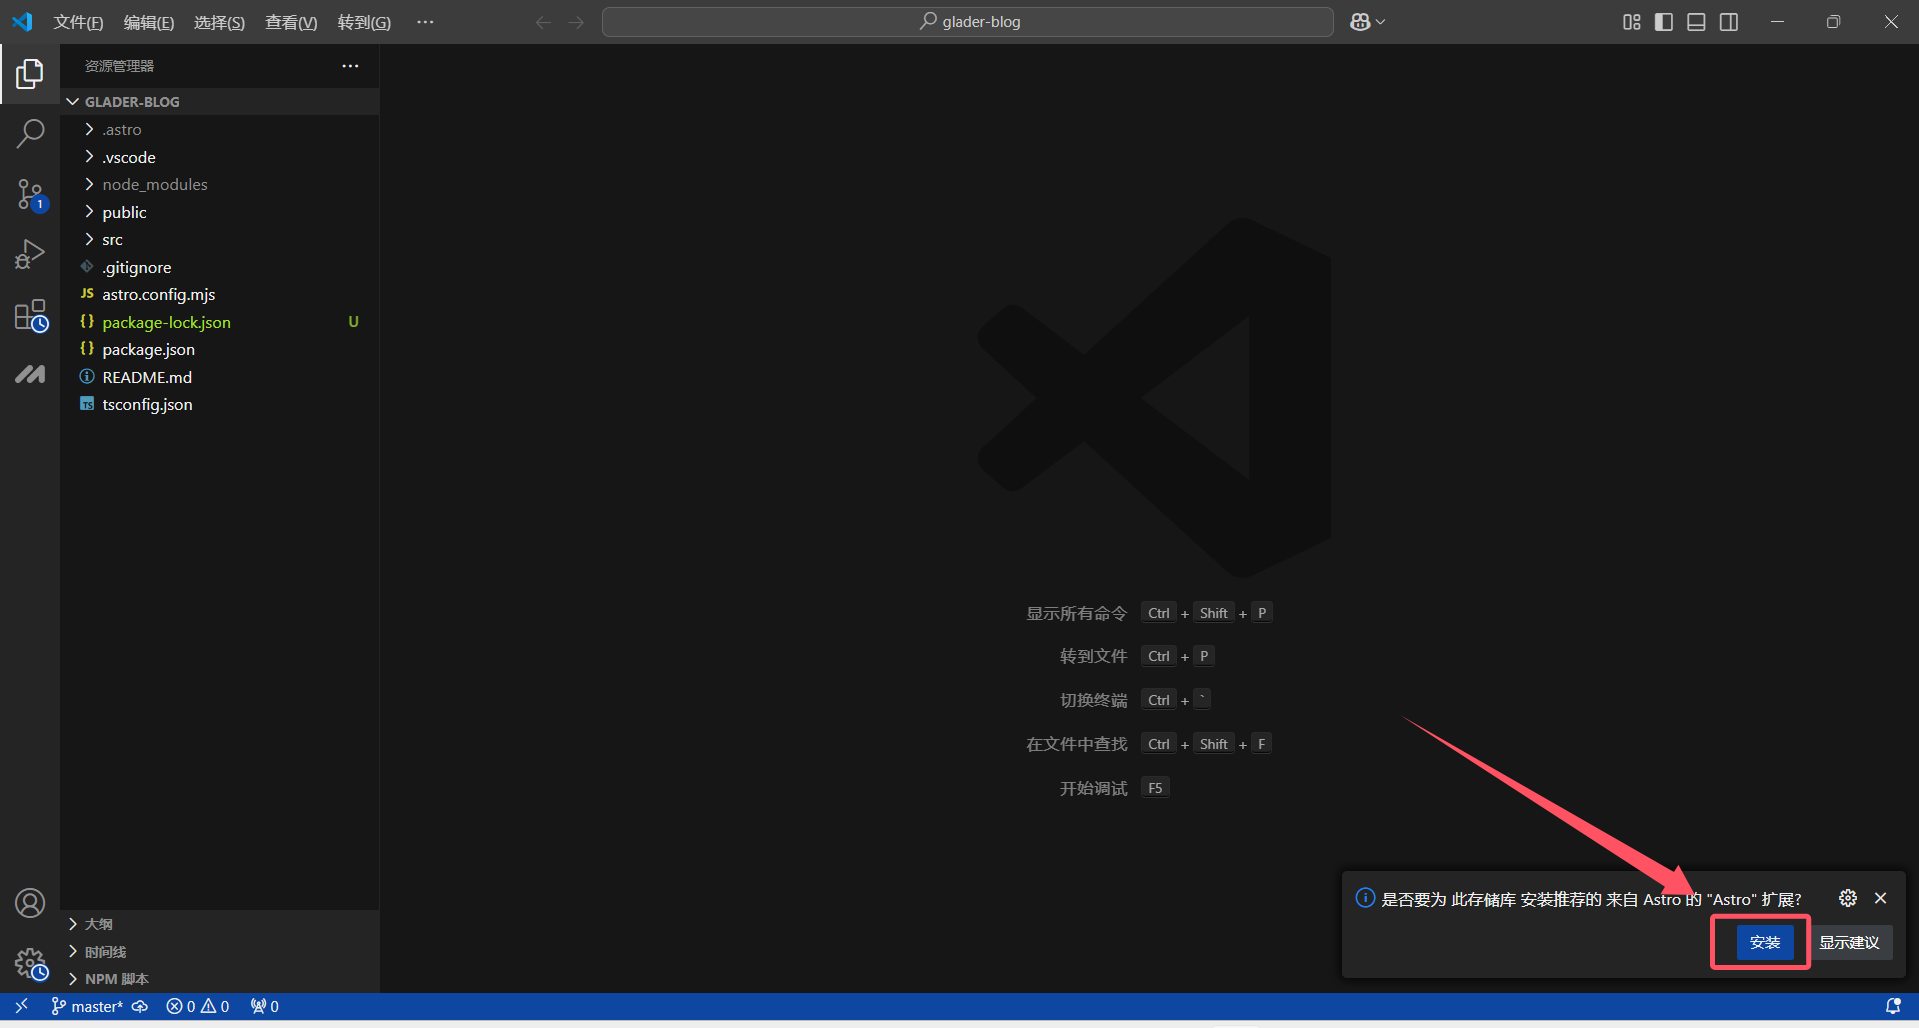
For convenient code writing, we’ll use the VSCode text editor. First, open VSCode and use it to open the newly created project, glader-blog, as shown below. A prompt to install the Astro extension will appear in the bottom right corner - click install:
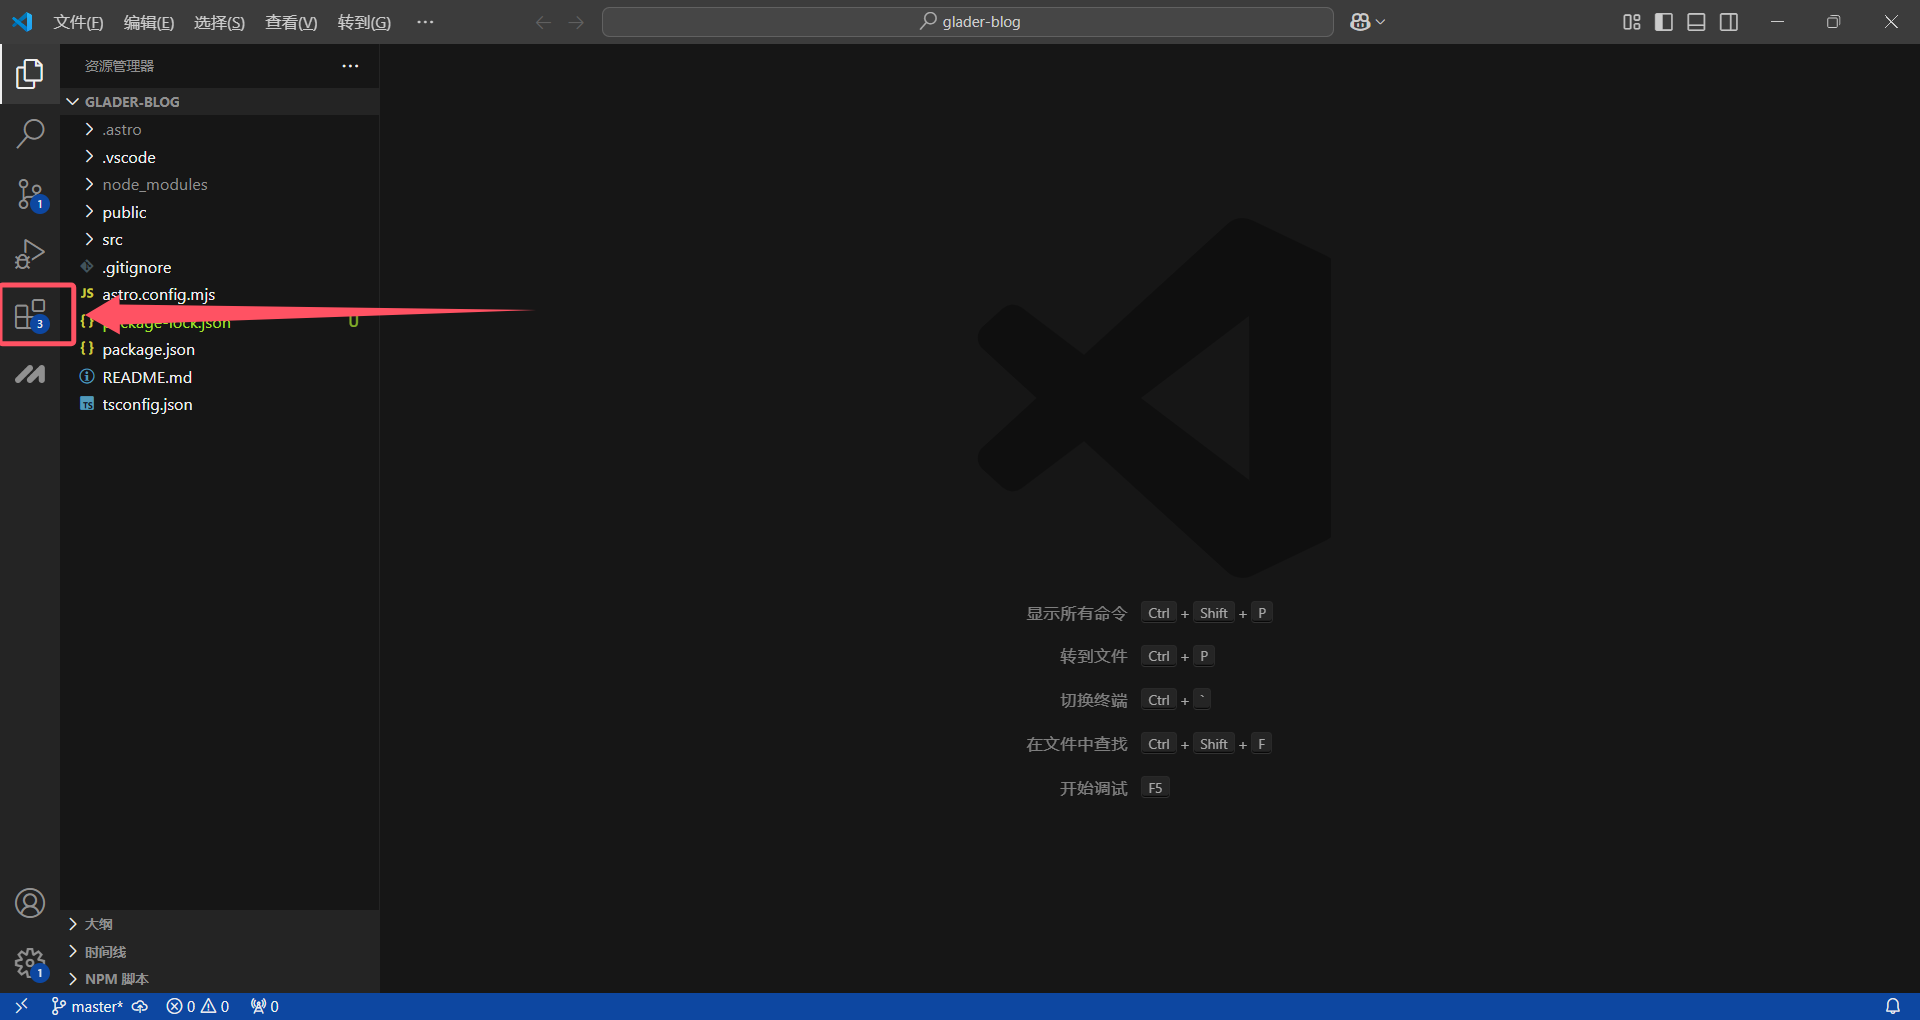
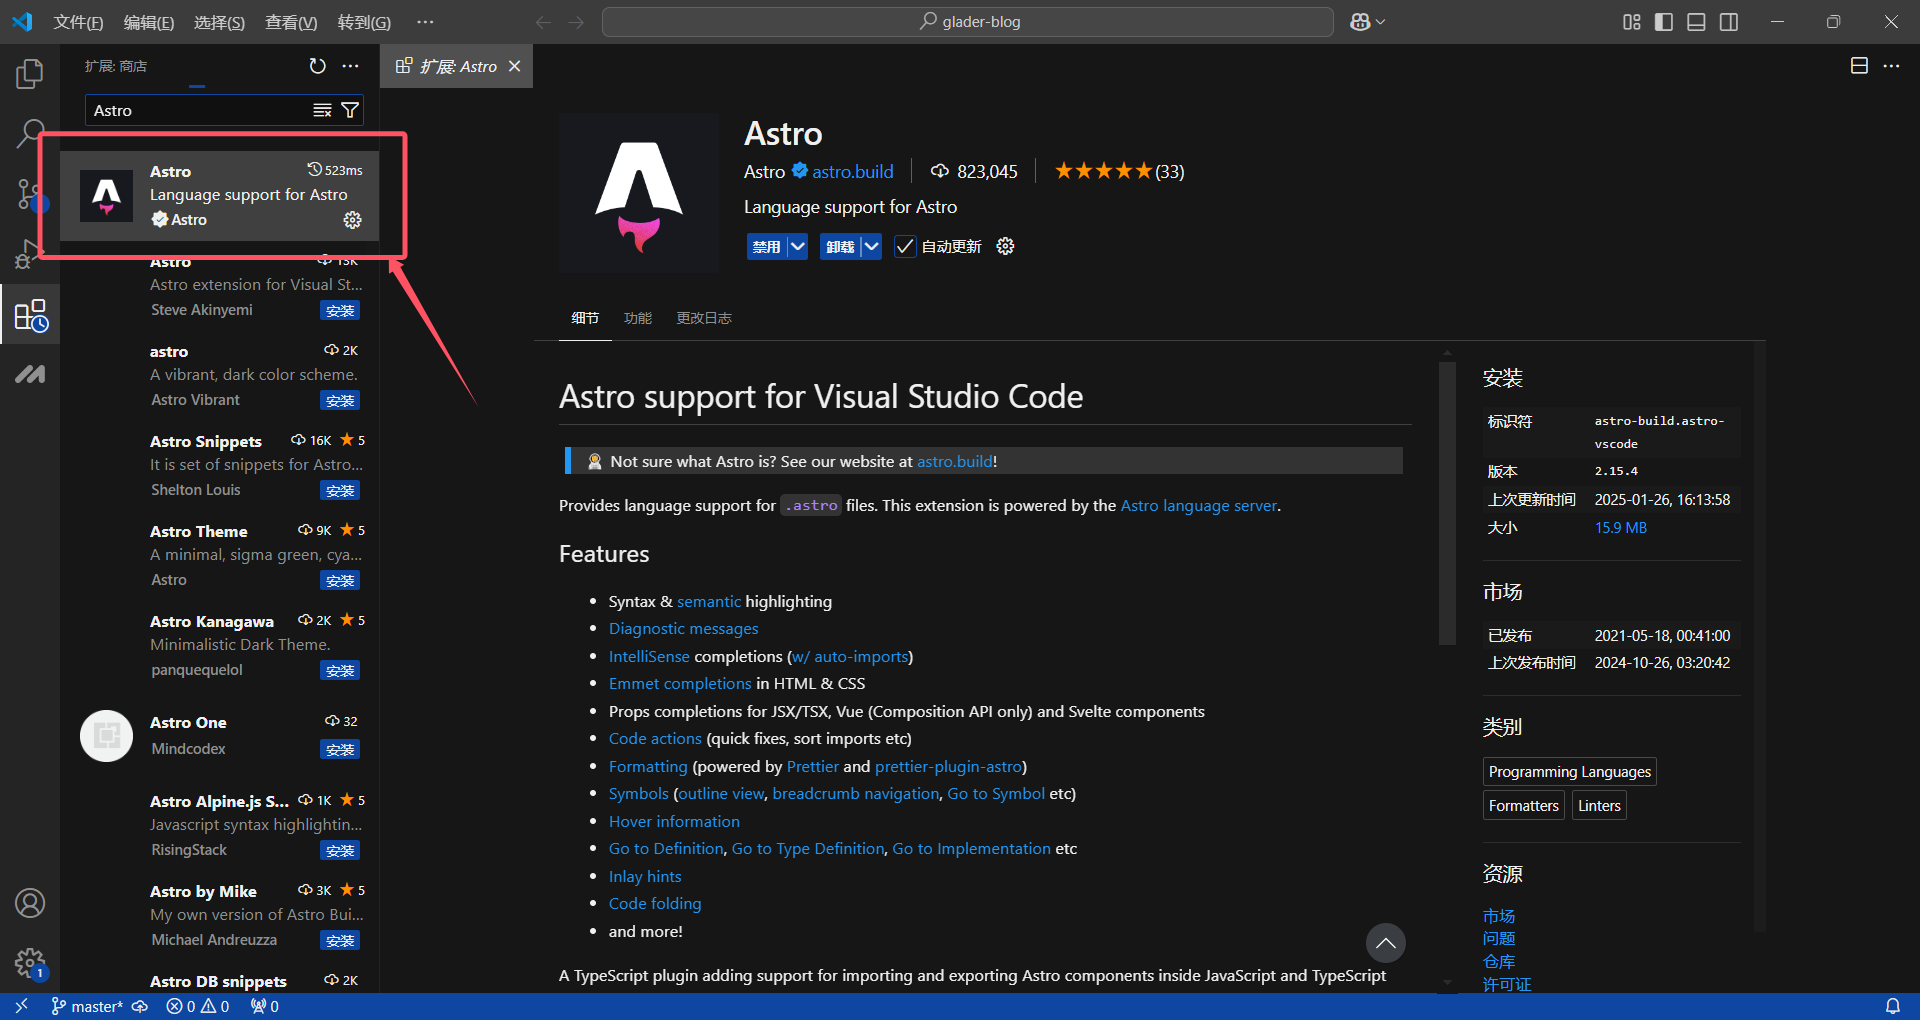
If the prompt doesn’t appear, you can click the extensions icon and manually search and install:
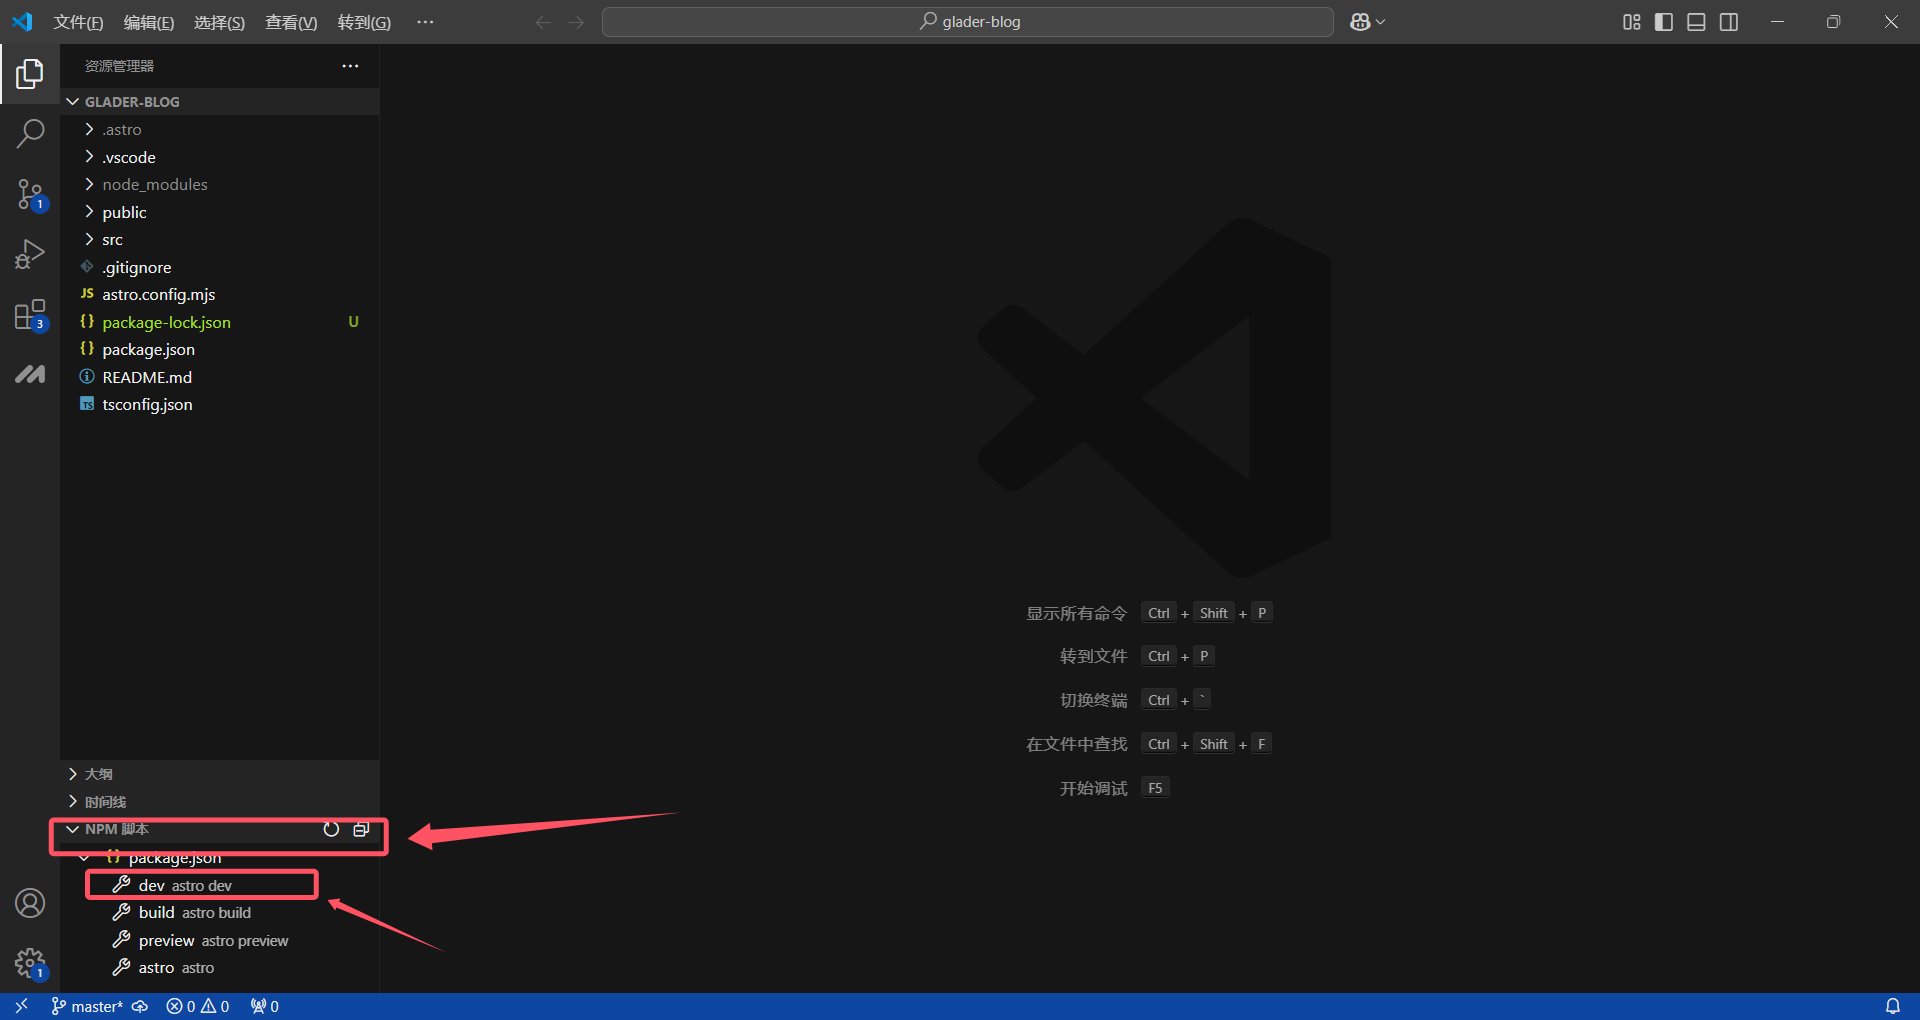
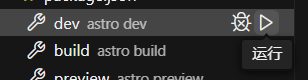
After installation, return to the project directory. You’ll find a new npm scripts option in the lower left corner. Clicking on items here will help us run npm scripts. For example, there’s a dev option - clicking it is equivalent to running npm run dev in the project directory.
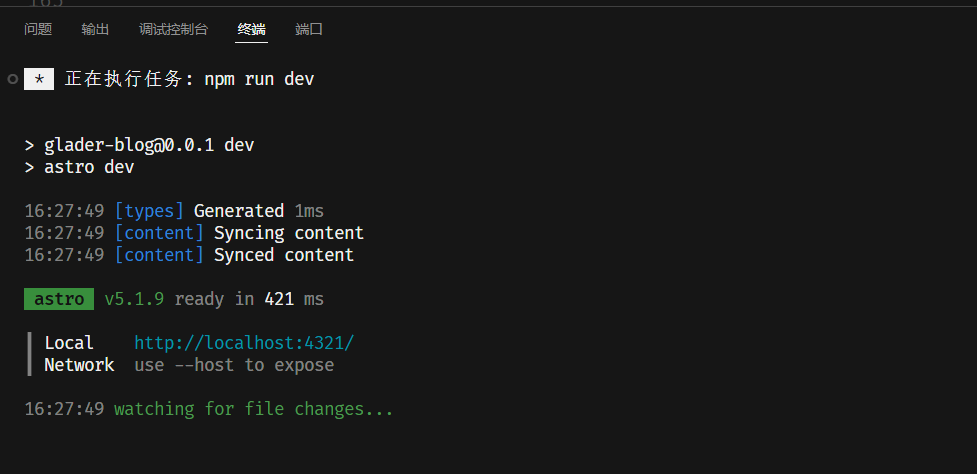
As you can see, the effect is the same as entering the command directly in the command window.
4. Writing a Simple Blog
In the project directory under src/pages/, there’s an index.astro file, which is the website’s homepage.
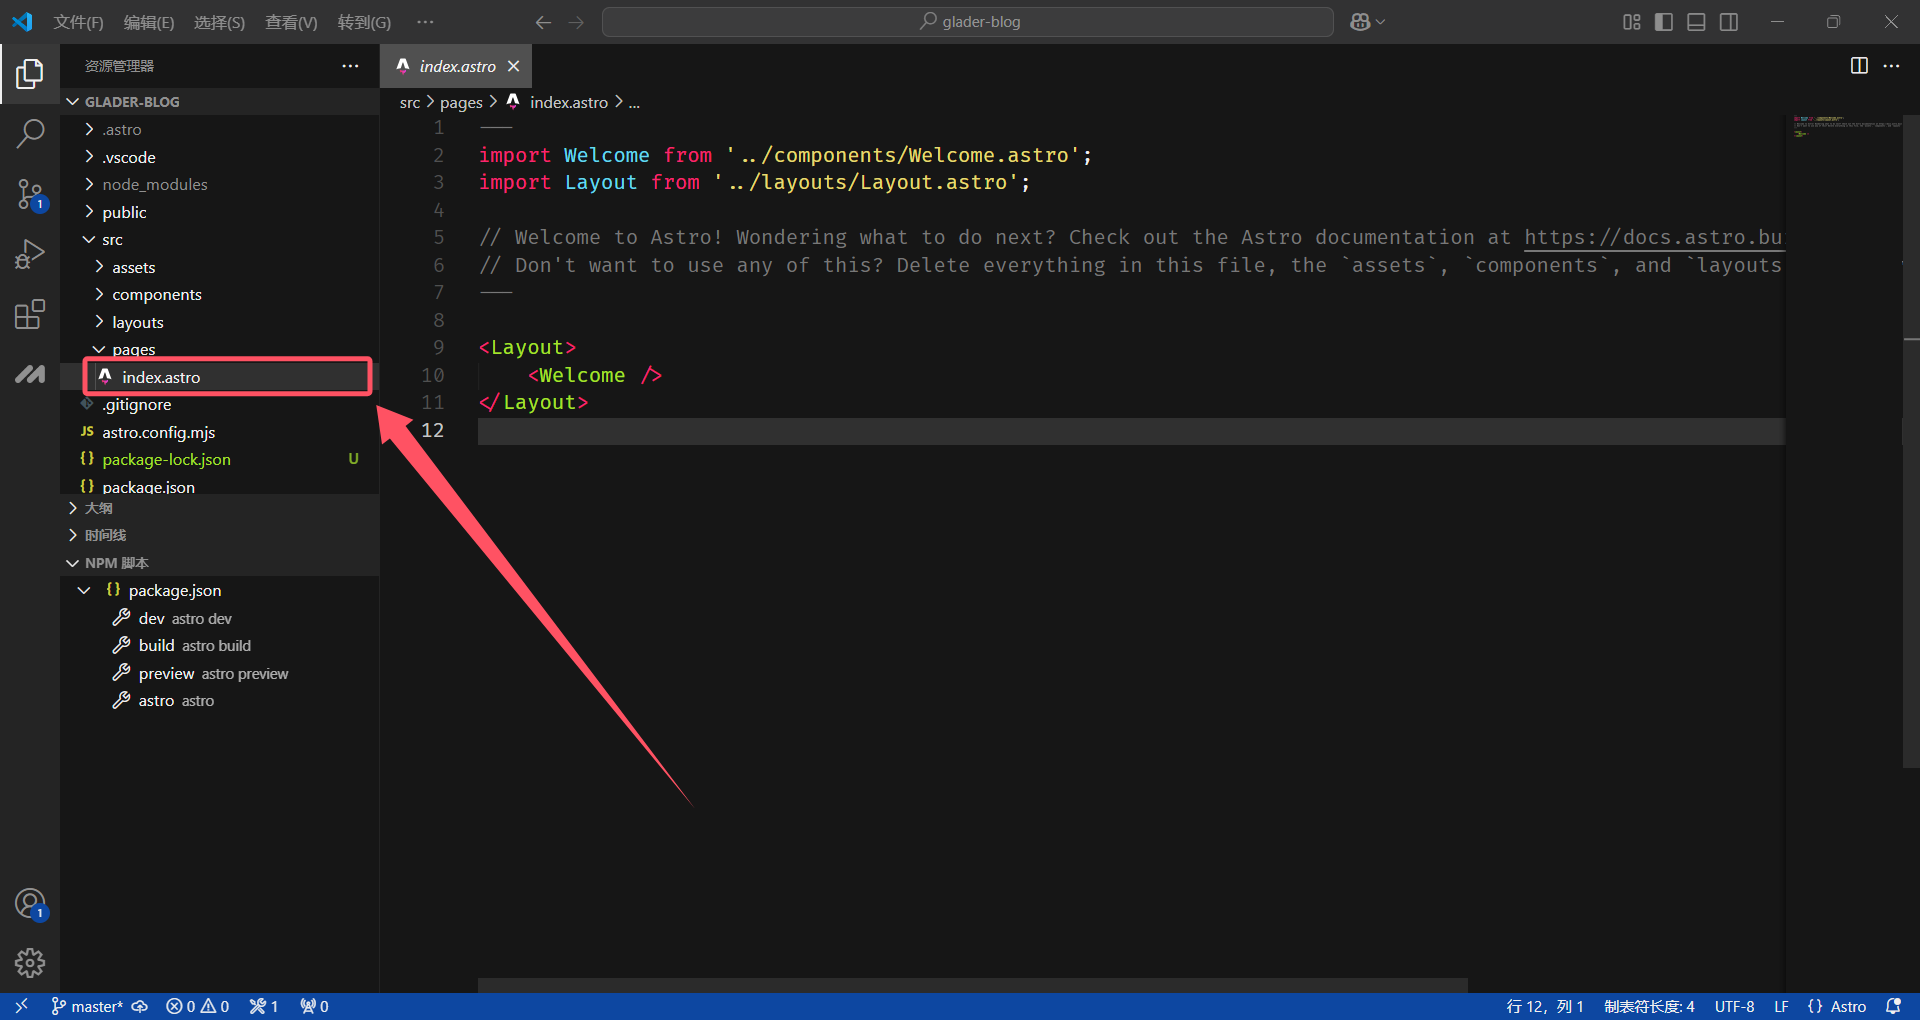
We can try deleting all the code in this file and rewrite a piece of code as follows:
<html lang="en">
  <head>
    <meta charset="utf-8" />
    <link rel="icon" type="image/svg+xml" href="/favicon.svg" />
    <meta name="viewport" content="width=device-width" />
    <meta name="generator" content={Astro.generator} >
    <title>Astro</title>
  </head>
  <body>
    <h1>Astro</h1>
  </body>
</html>
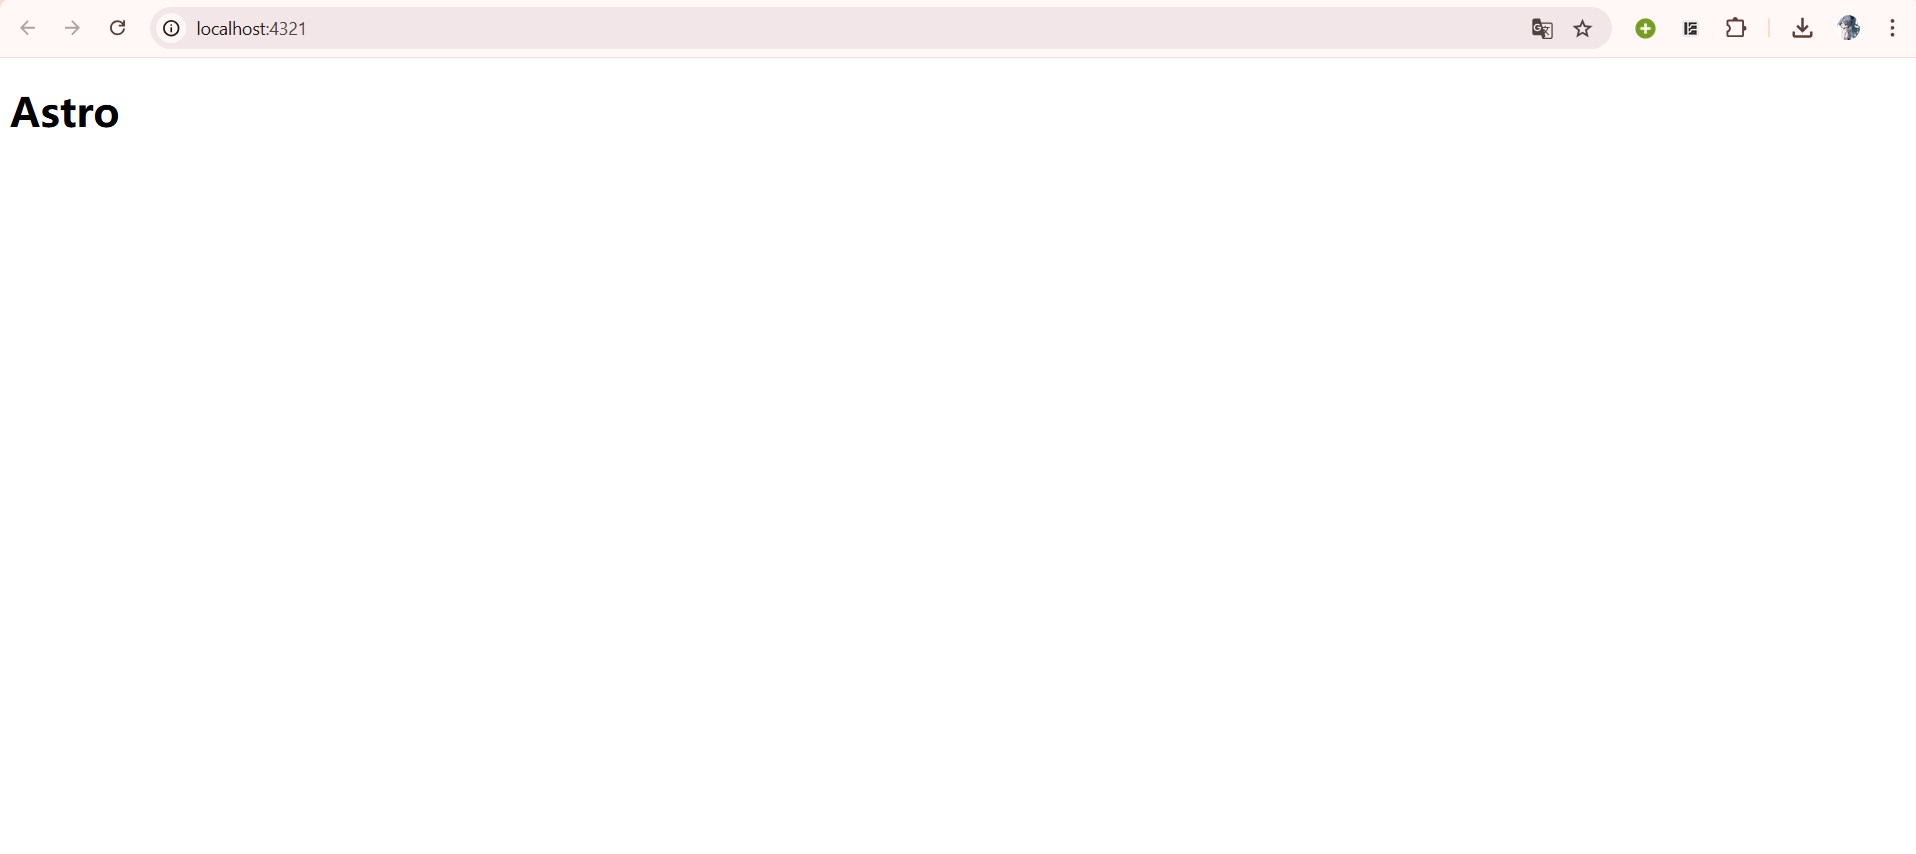
Now you can see in the browser that the webpage content has changed to what we wrote in the code.
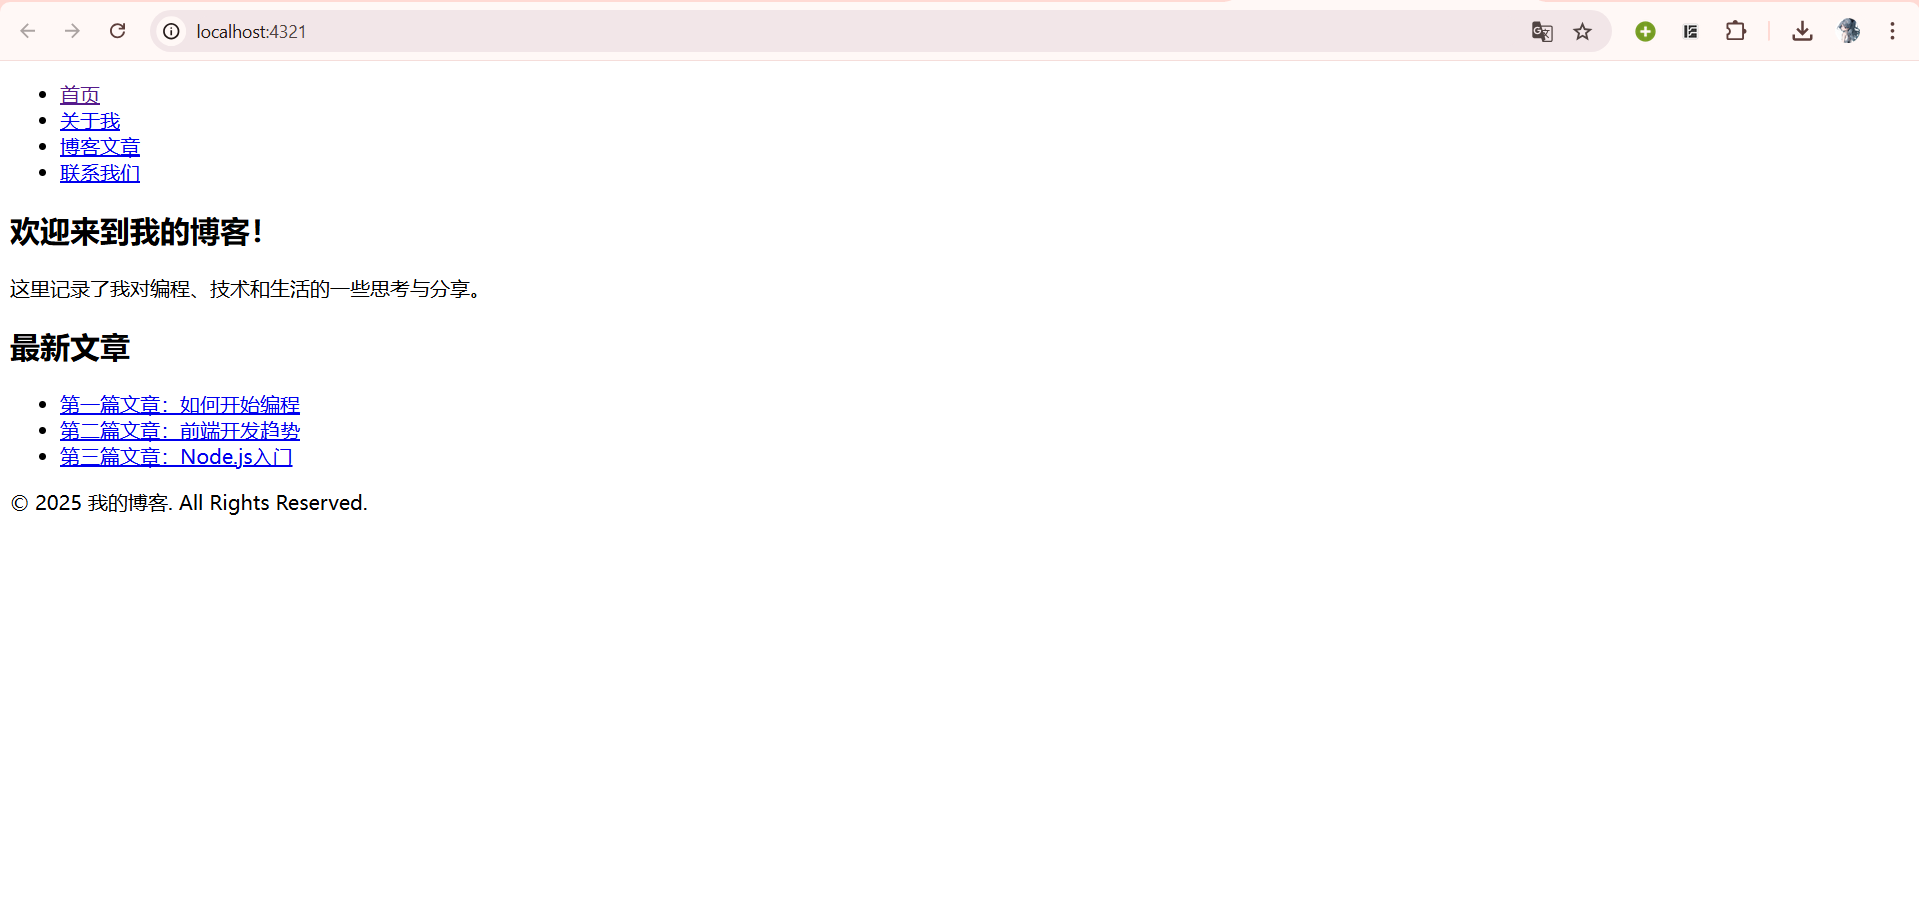
Astro is essentially a static site generator that is compatible with native HTML code. For demonstration purposes, let’s write a rough blog homepage. The code is as follows:
<!DOCTYPE html>
<html lang="en">
<head>
<meta charset="UTF-8">
<meta name="viewport" content="width=device-width, initial-scale=1.0">
<meta http-equiv="X-UA-Compatible" content="ie=edge">
<link rel="stylesheet" href="/styles.css">
</head>
<body>
<!-- Navigation Bar -->
<header>
<nav>
<ul>
<li><a href="/">Home</a></li>
<li><a href="/about">About Me</a></li>
<li><a href="/posts">Blog Posts</a></li>
<li><a href="/contact">Contact Us</a></li>
</ul>
</nav>
</header>
<!-- Main Content Area -->
<main>
<section class="intro">
<h1>Welcome to My Blog!</h1>
<p>Here I record some thoughts and shares about programming, technology, and life.</p>
</section>
<!-- Latest Articles List -->
<section class="posts">
<h2>Latest Articles</h2>
<ul>
<li><a href="">Test Article 1</a></li>
</ul>
</section>
</main>
<!-- Footer -->
<footer>
<p>© 2025 My Blog. All Rights Reserved.</p>
</footer>
</body>
</html>
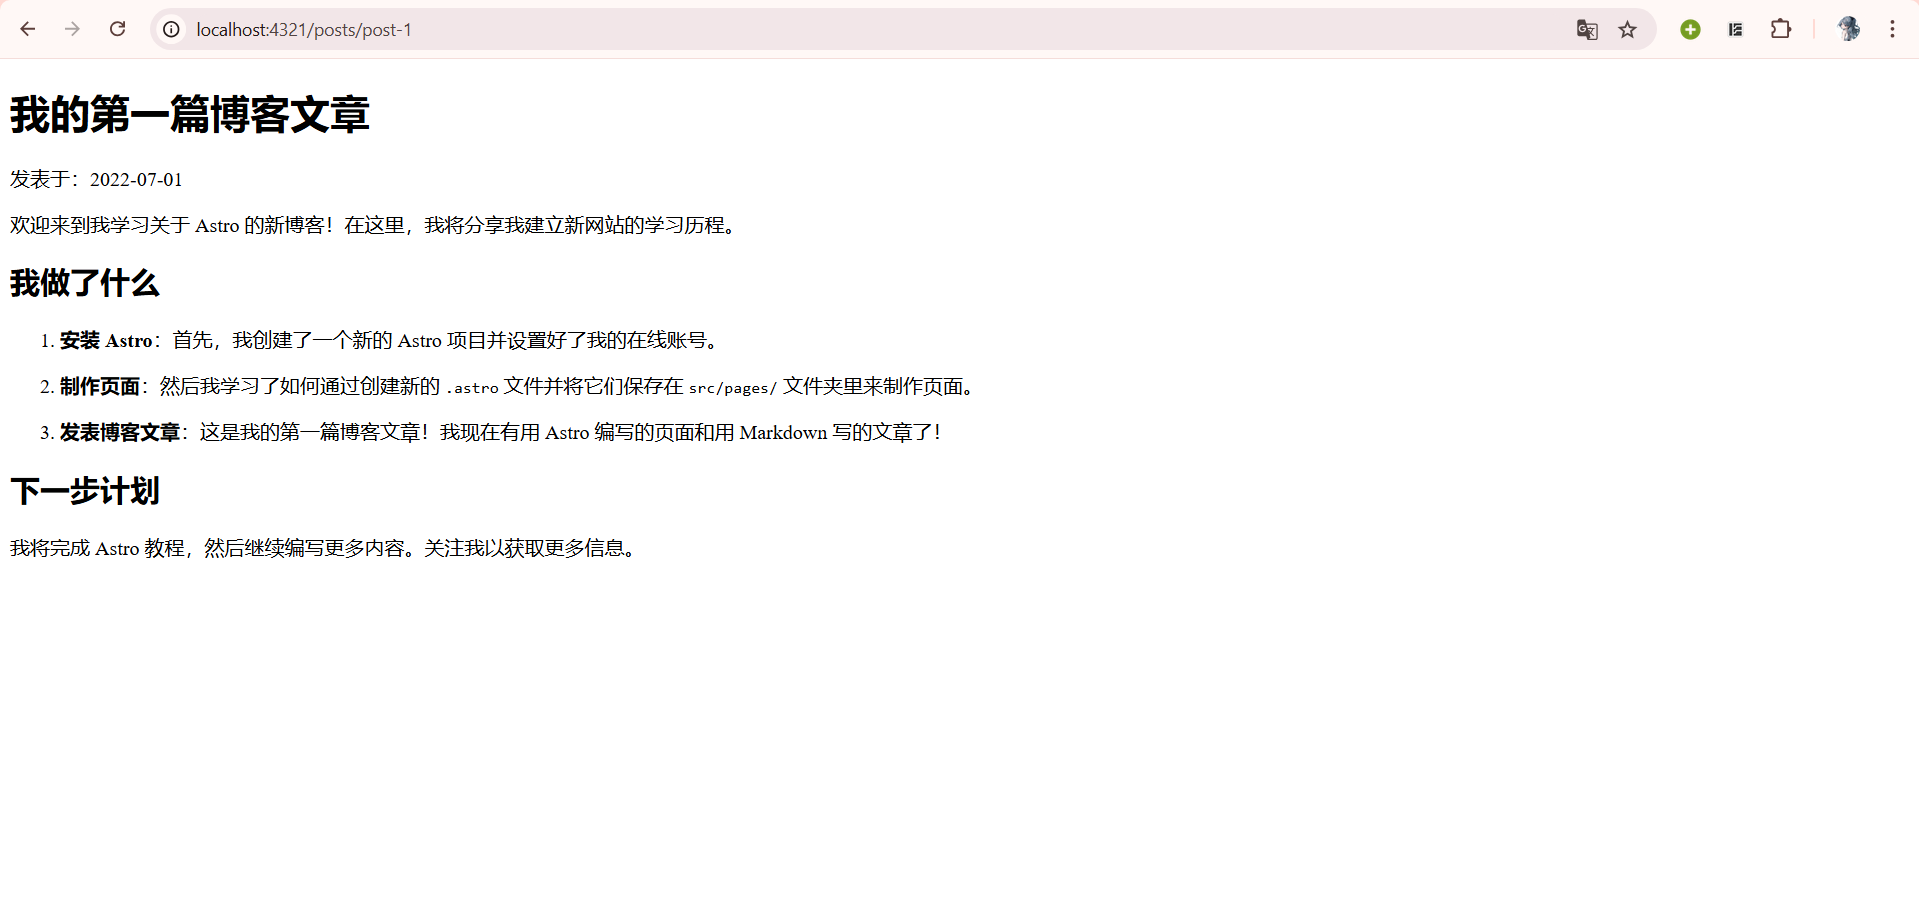
Now, if we want to write a blog in Markdown format, create a new folder called posts under src/pages/ to store our articles. Then create post-1.md under src/pages/posts/.
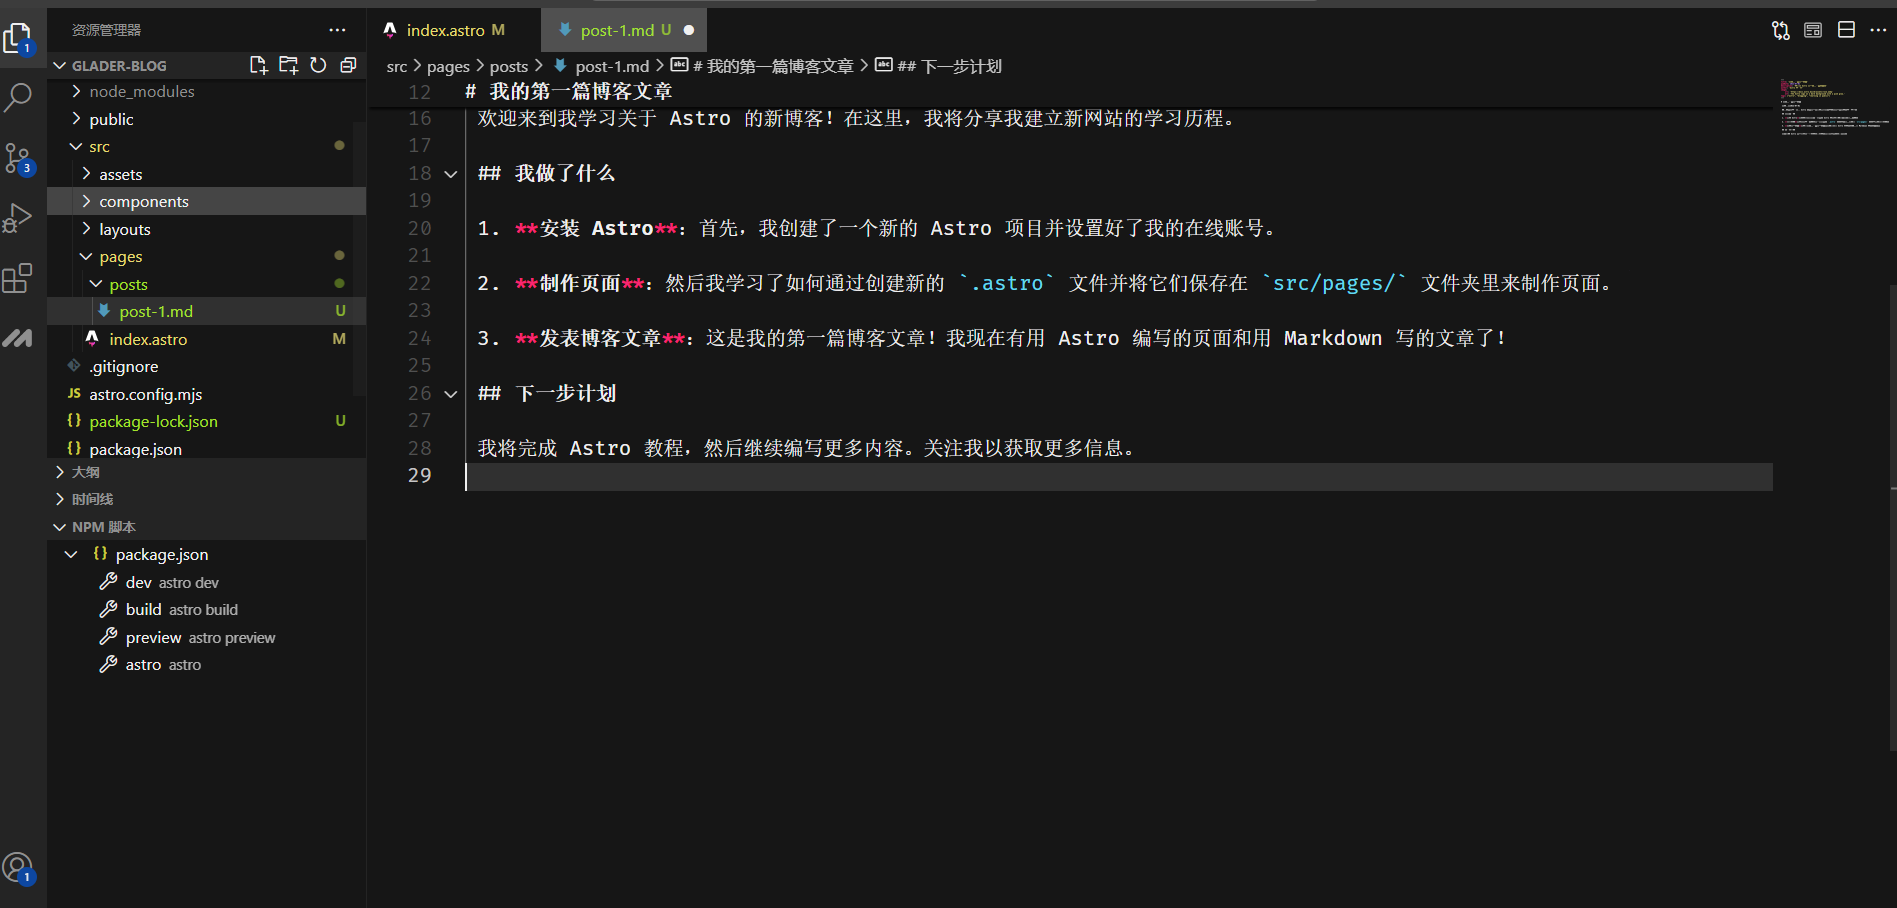
# My First Blog Post

Published: 2022-07-01

Welcome to my new blog about learning Astro! Here, I'll share my learning journey in building a new website.

## What I Did

1. **Installed Astro**: First, I created a new Astro project and set up my online accounts.

2. **Made Pages**: Then I learned how to make pages by creating new `.astro` files and saving them in the `src/pages/` folder.

3. **Published Blog Posts**: This is my first blog post! I now have pages written with Astro and articles written in Markdown!

## Next Steps

I will complete the Astro tutorial and then continue writing more content. Follow me for more information.
After writing the blog, add a hyperlink to “Test Article 1” in index.astro that links to the markdown article we just created:
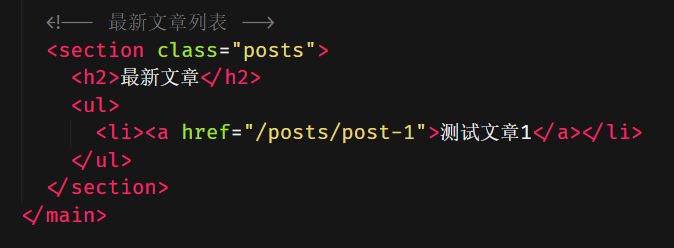
Note: Don’t add .md, just write the file name. That is, don’t write /posts/post-1.md
Now, clicking on Test Article 1 in the webpage will display our blog content:
For more syntax, components, and related content, readers can learn on their own at the Astro Development Documentation Official Website.
5. Uploading the Project to GitHub
To upload the project to GitHub, you first need to download and install Git. The installation method can be found in the following tutorial:
After installing Git, we need to configure Git for VSCode and upload the project we just wrote to a GitHub repository. The specific tutorial can be found here:
VSCode Git Configuration and Code Upload to GitHub Tutorial
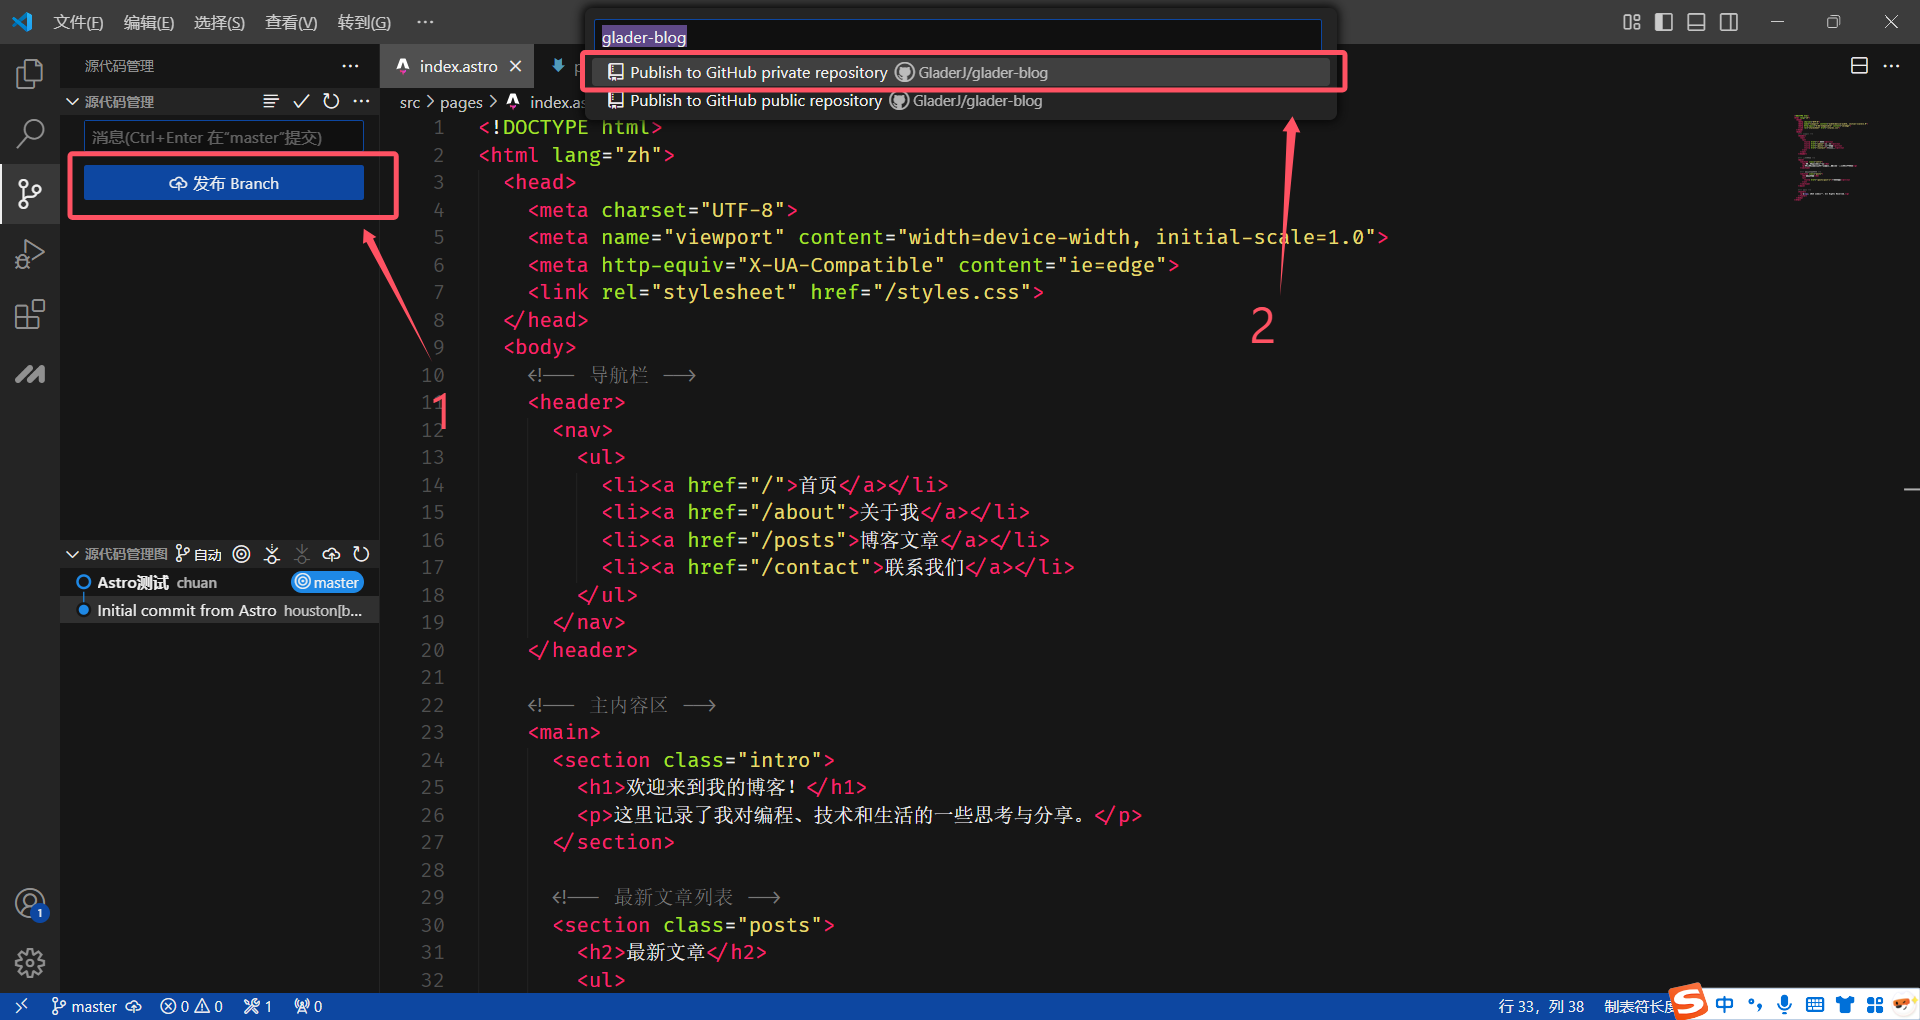
Then click publish branch, and then click upload to private repository.
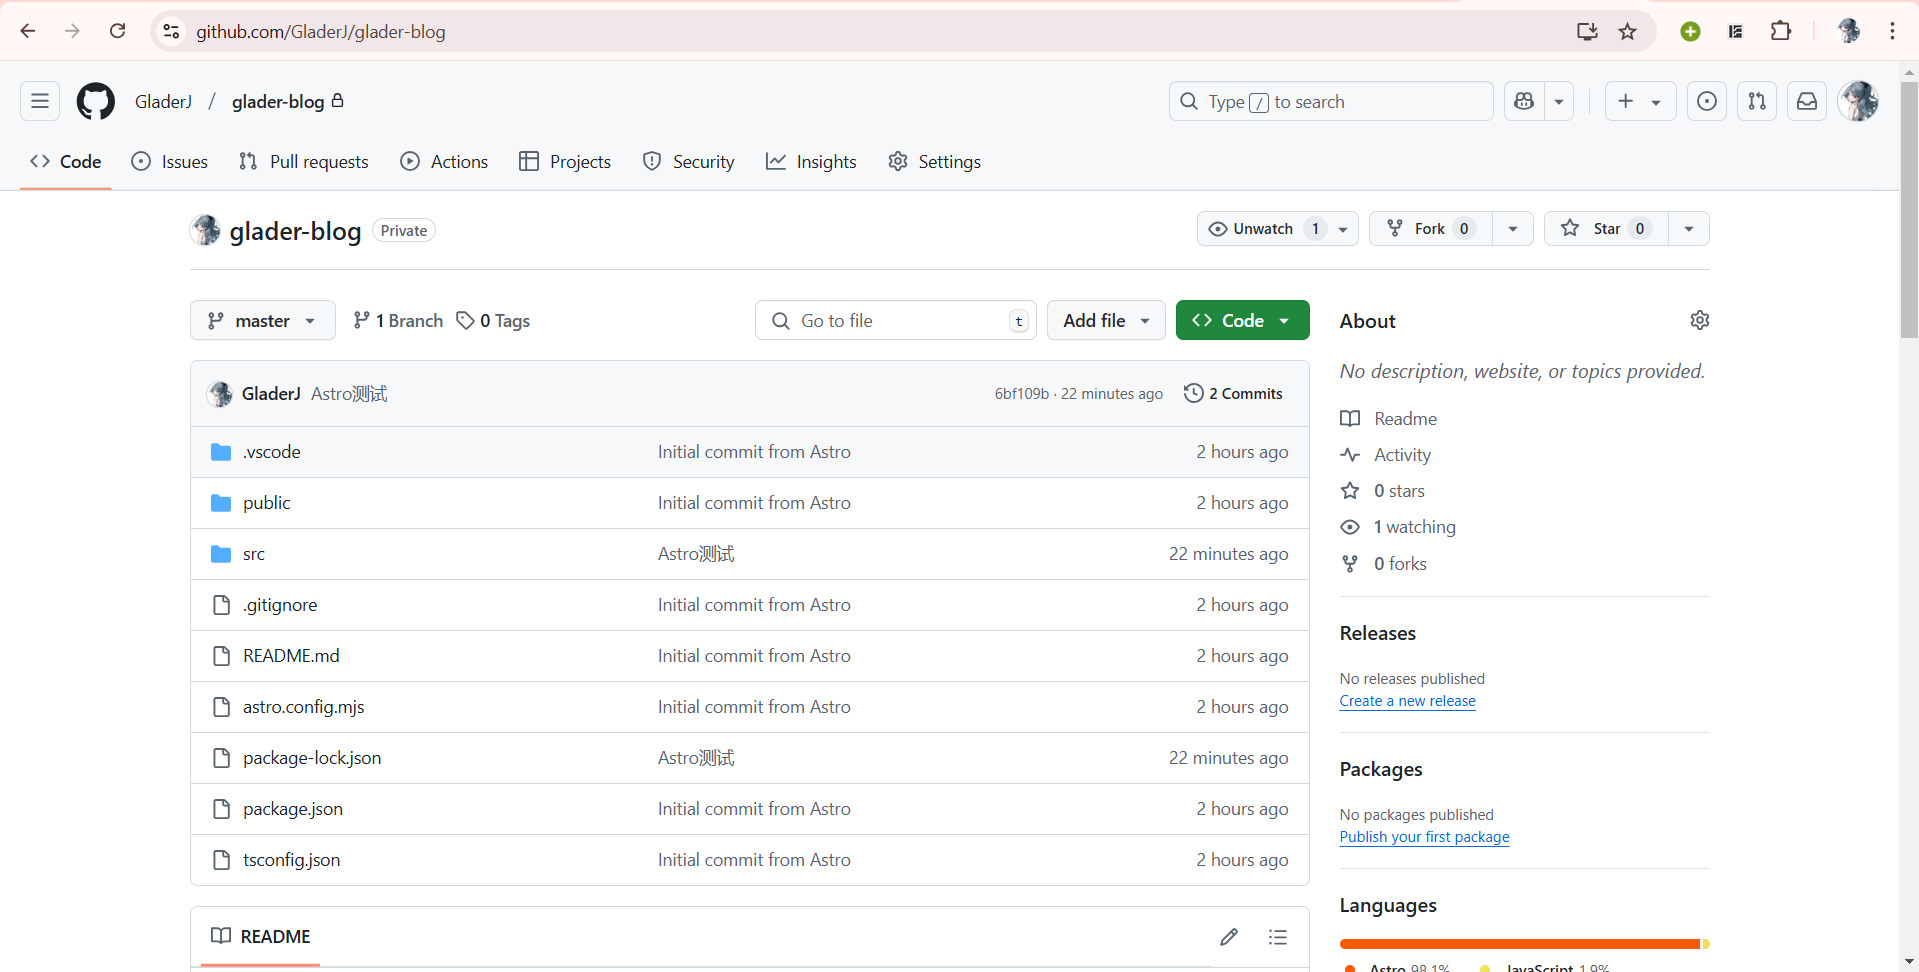
After uploading, we’ll have such a private repository on GitHub:
Additionally, when we need to modify our code, we can also commit changes here:
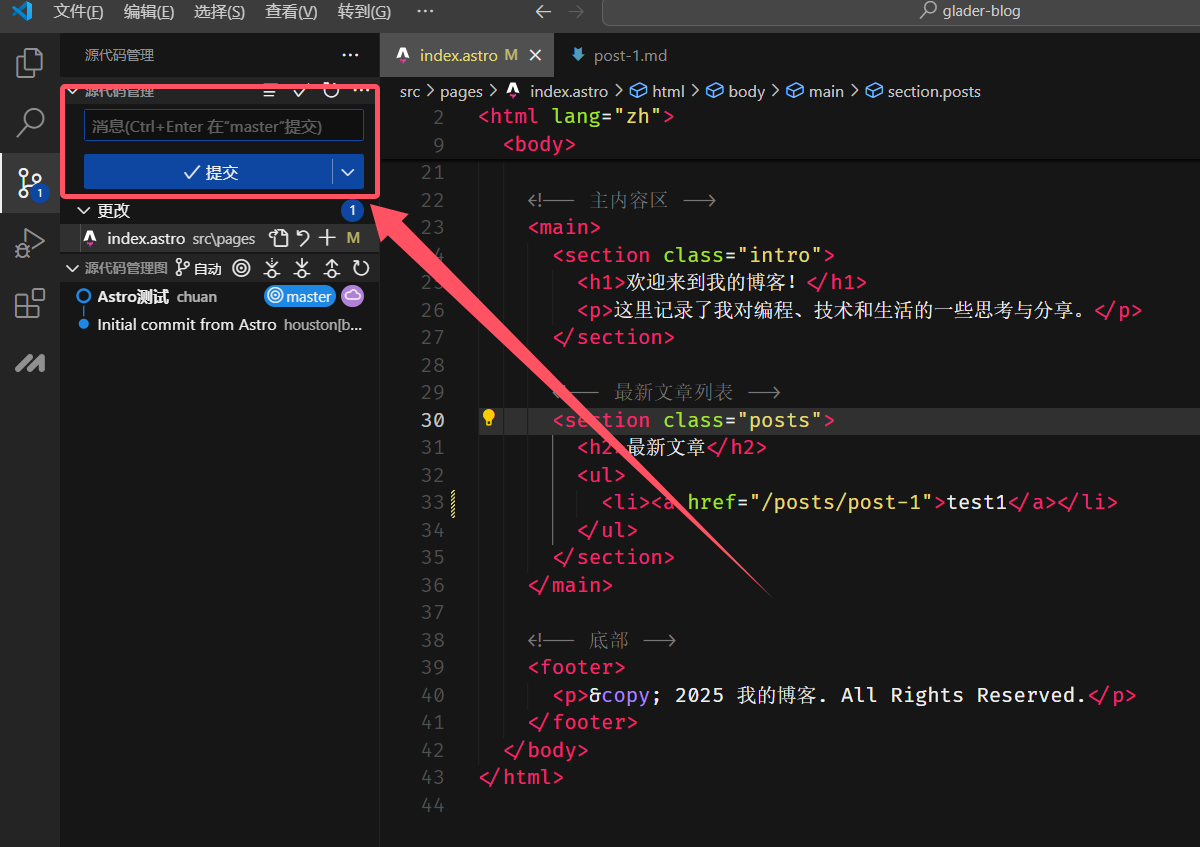
At this point, we can edit our blog locally and then use Git to save our code to GitHub in real-time.
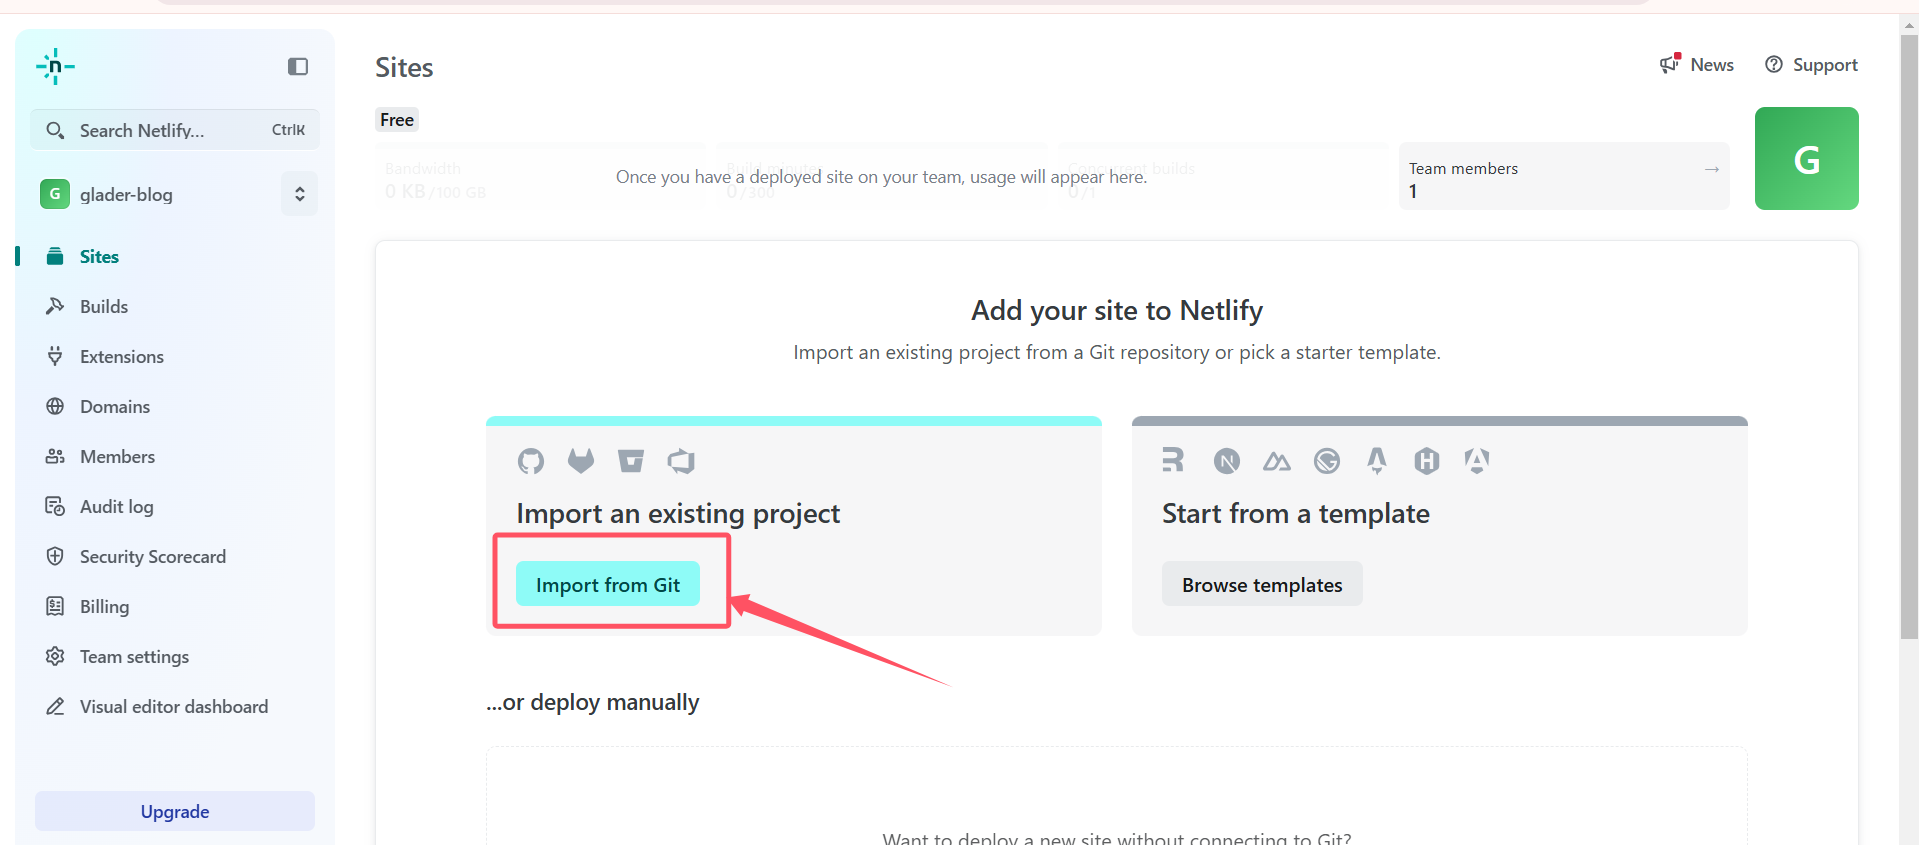
6. Hosting the Code on Netlify
Open the Netlify website again and log in to the account we just registered. Click Import from Git:
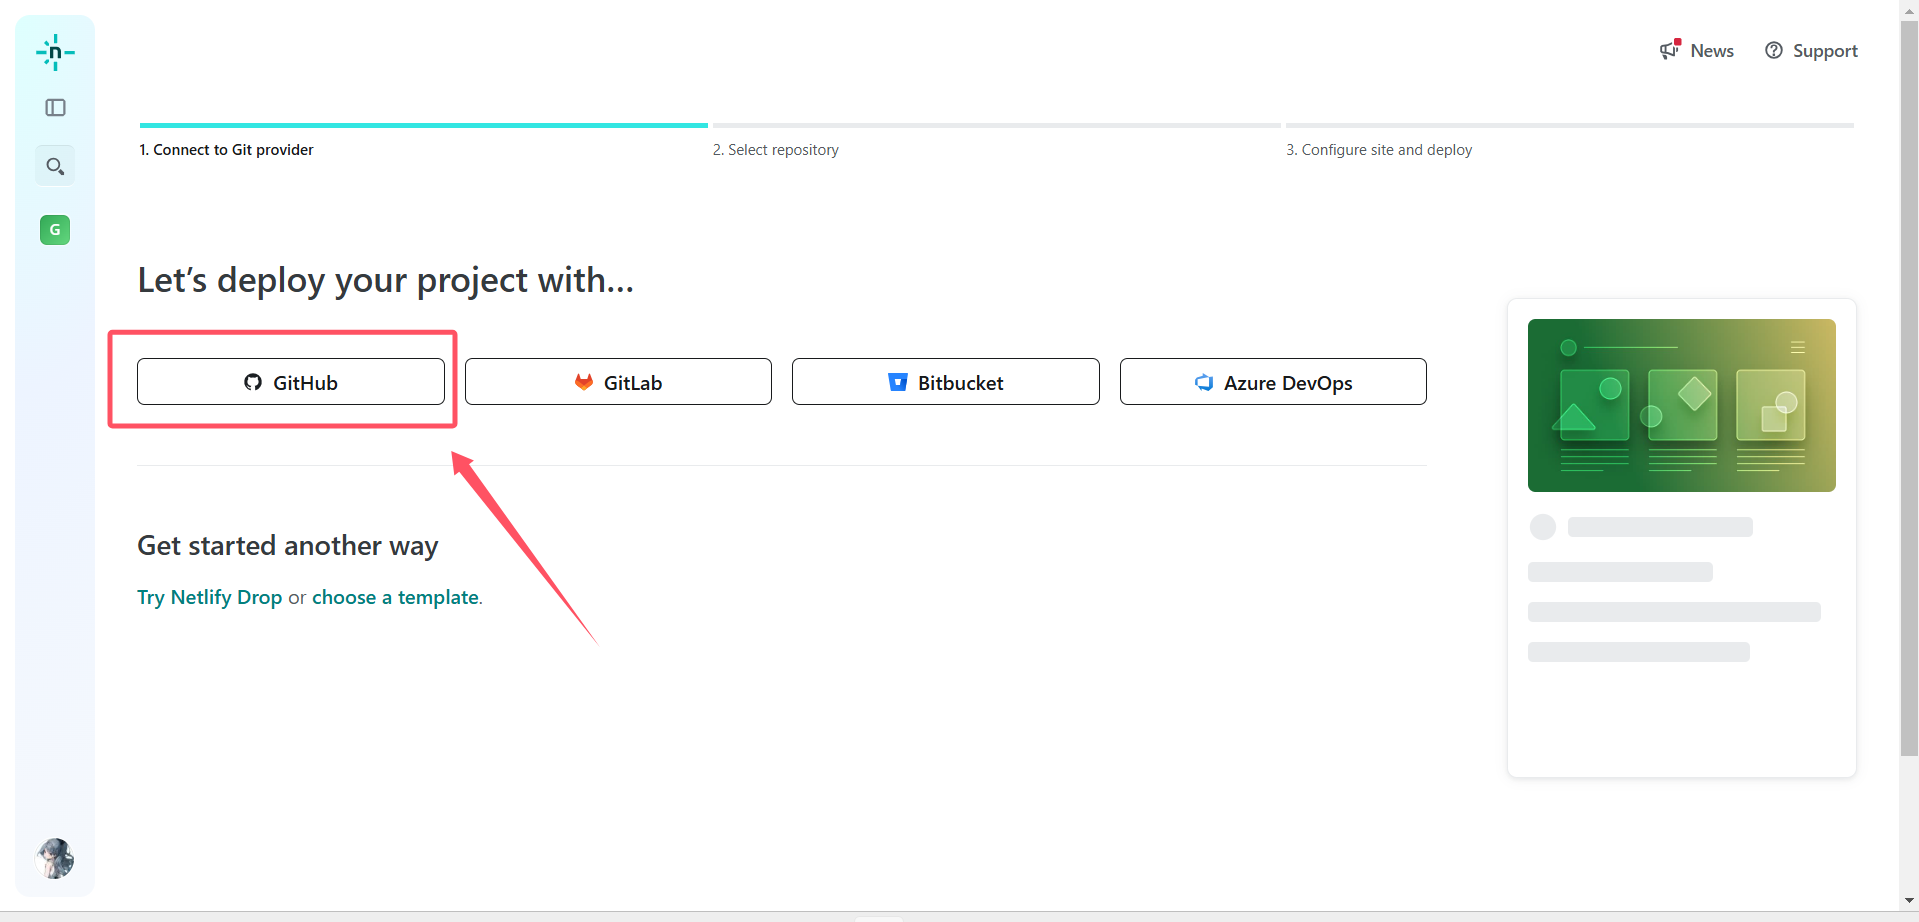
Then select GitHub:
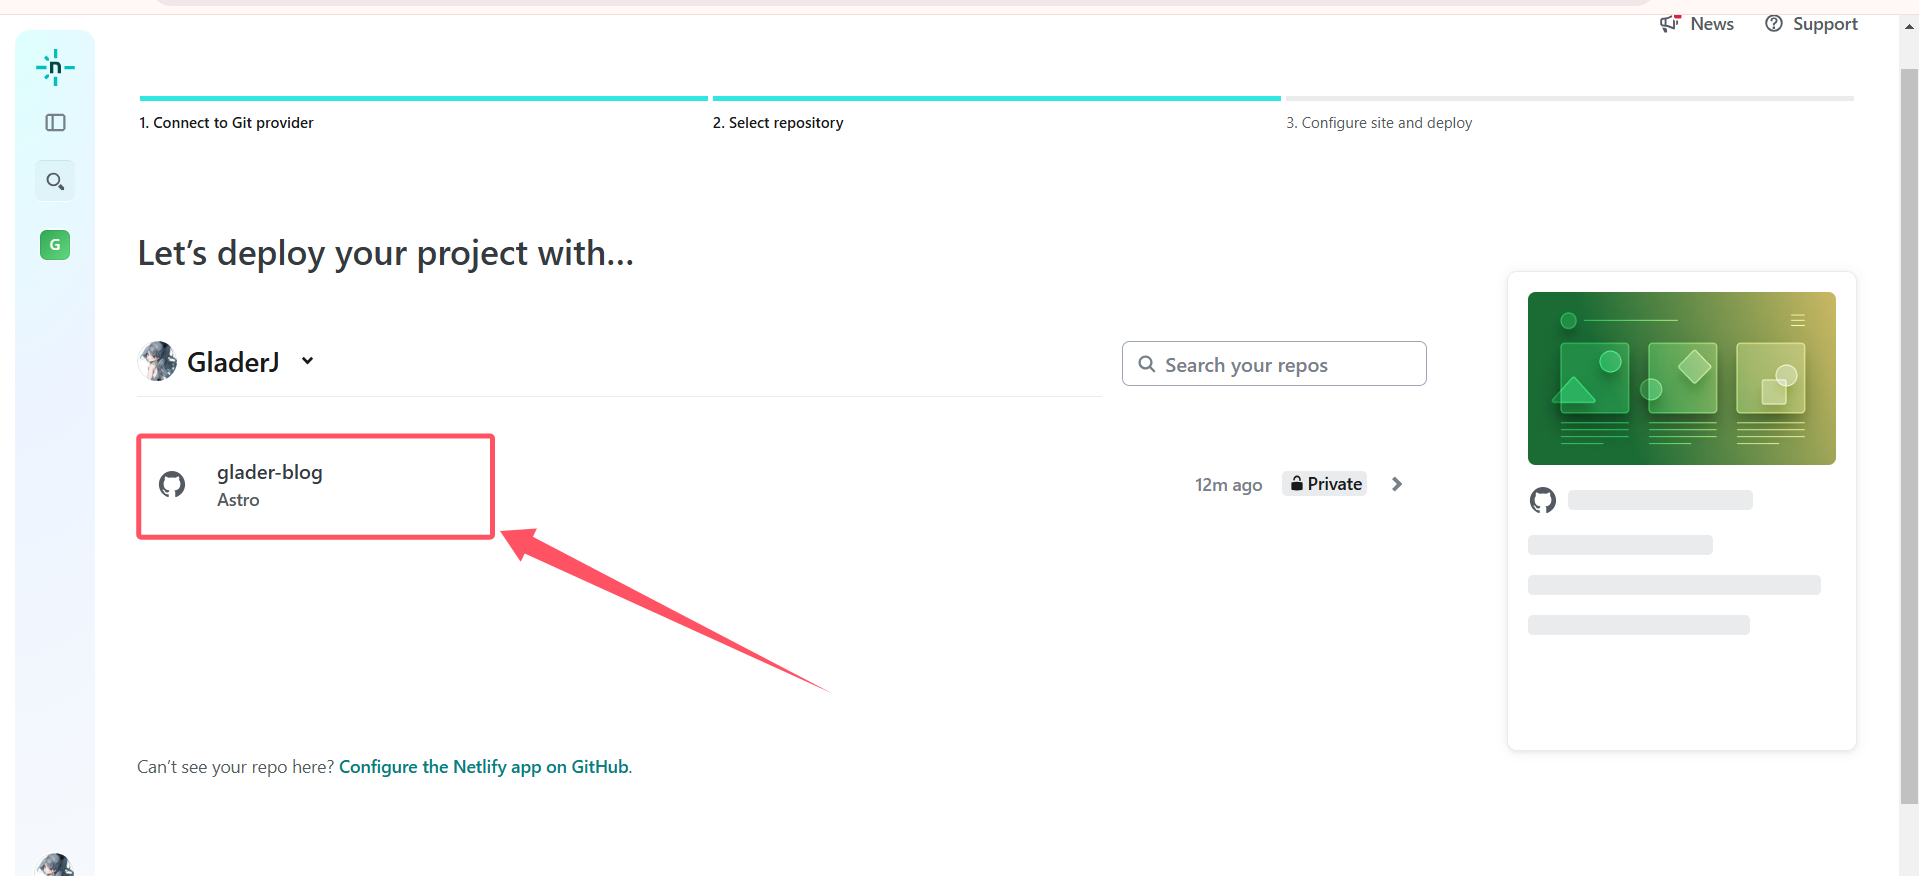
In the new window that appears, authorize the operation and select the repository to upload:

Then click Install to install. A password prompt will appear - enter your GitHub password and click confirm.
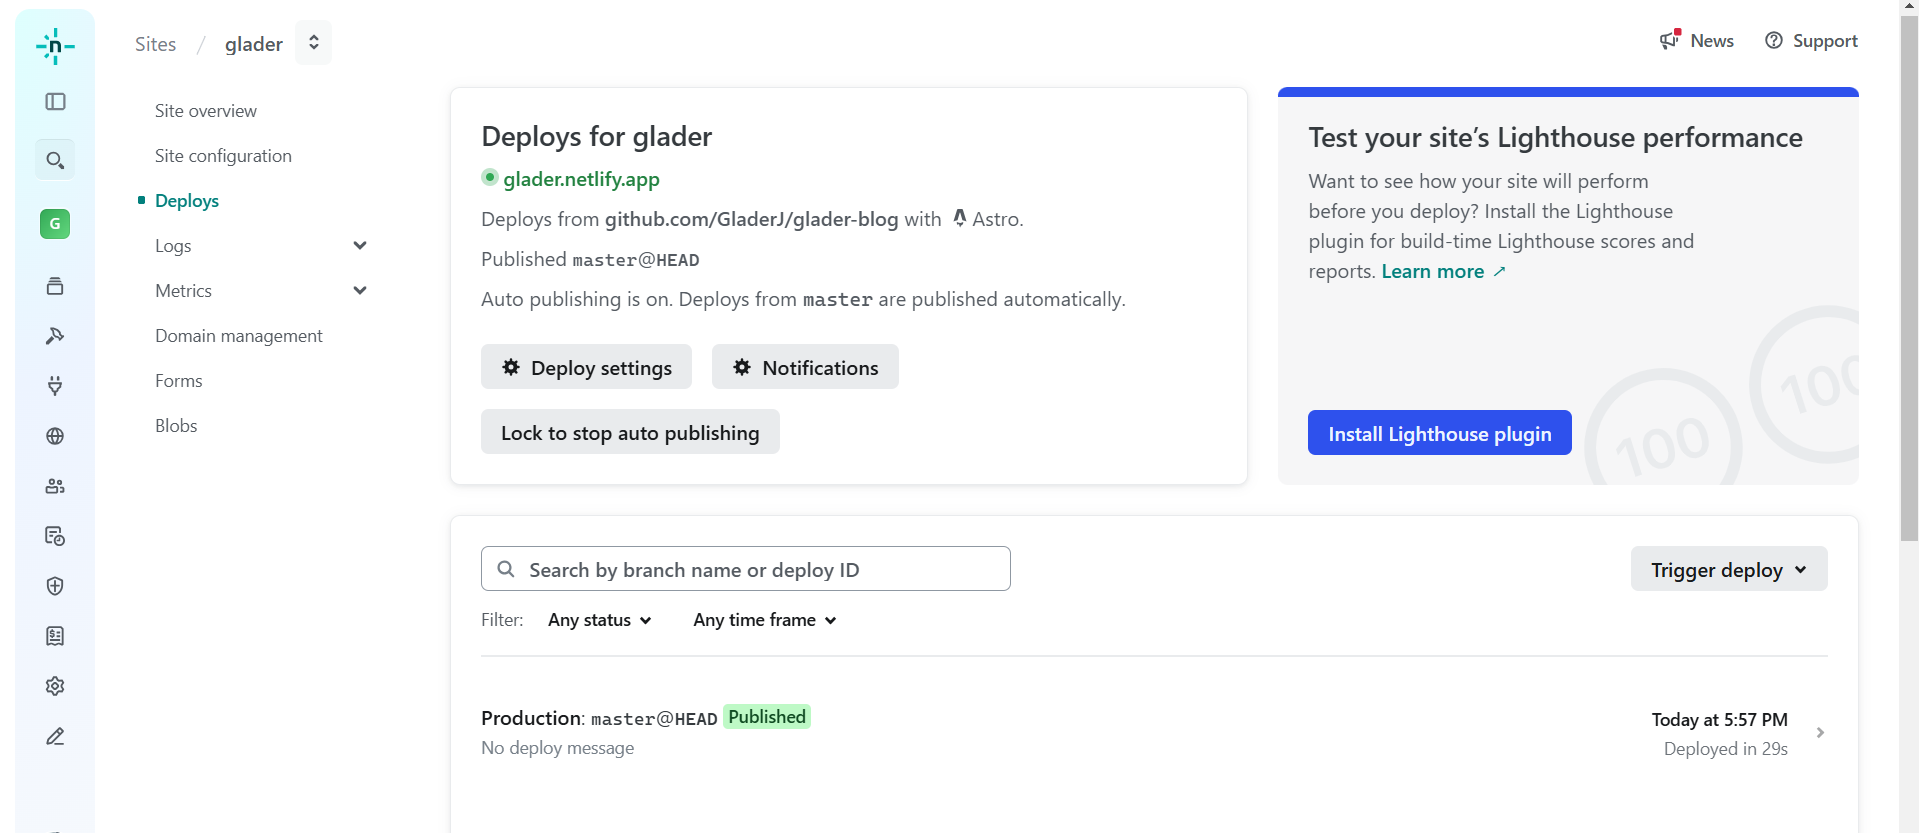
Now as shown below, the upload is successful. Click on the repository to configure it:
We just need to give it a name in Site name. This name will later be included in the domain we visit. Leave the rest blank and click Deploy directly.

Then we just wait for deployment, which may take a few minutes.

After deployment is complete, the result is as follows:
Now we can visit the website https://glader.netlify.app to display our blog.
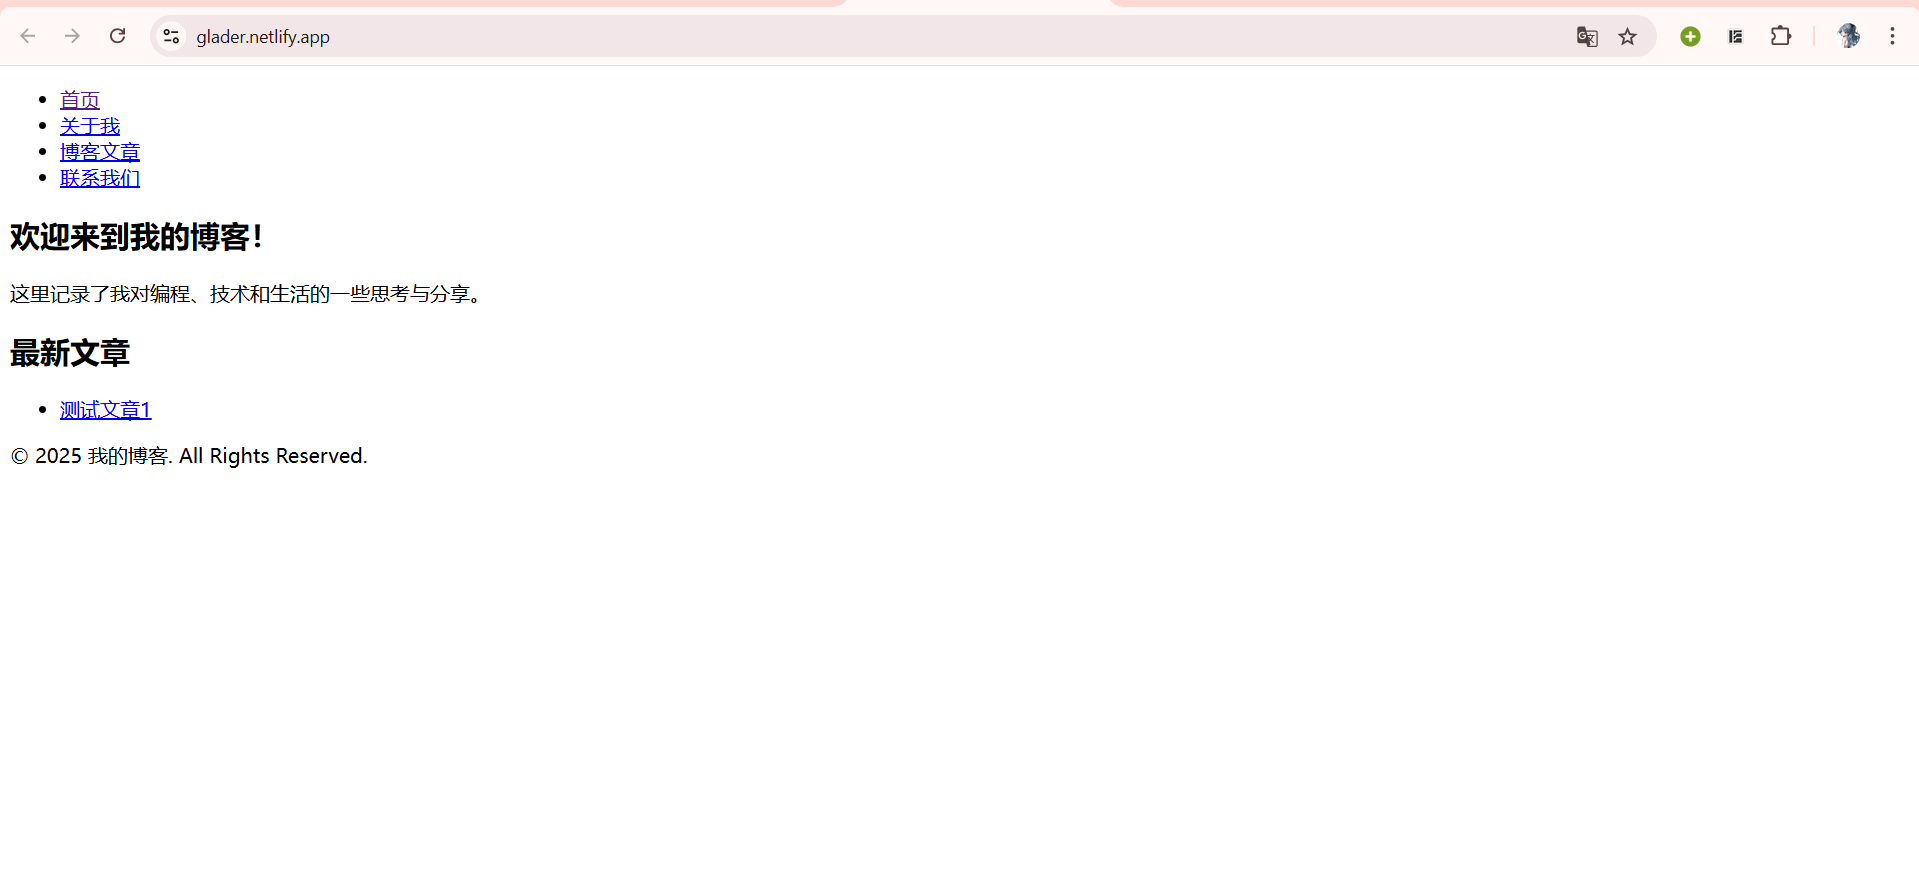
At this point, our blog deployment is complete.
Additionally, on GitHub, many people have already developed many easy-to-use blog themes based on the Astro framework. The operations we described above are merely to learn the basic usage of Astro. In actual blog creation, we can go to GitHub to choose a blog theme template we like and deploy it directly.